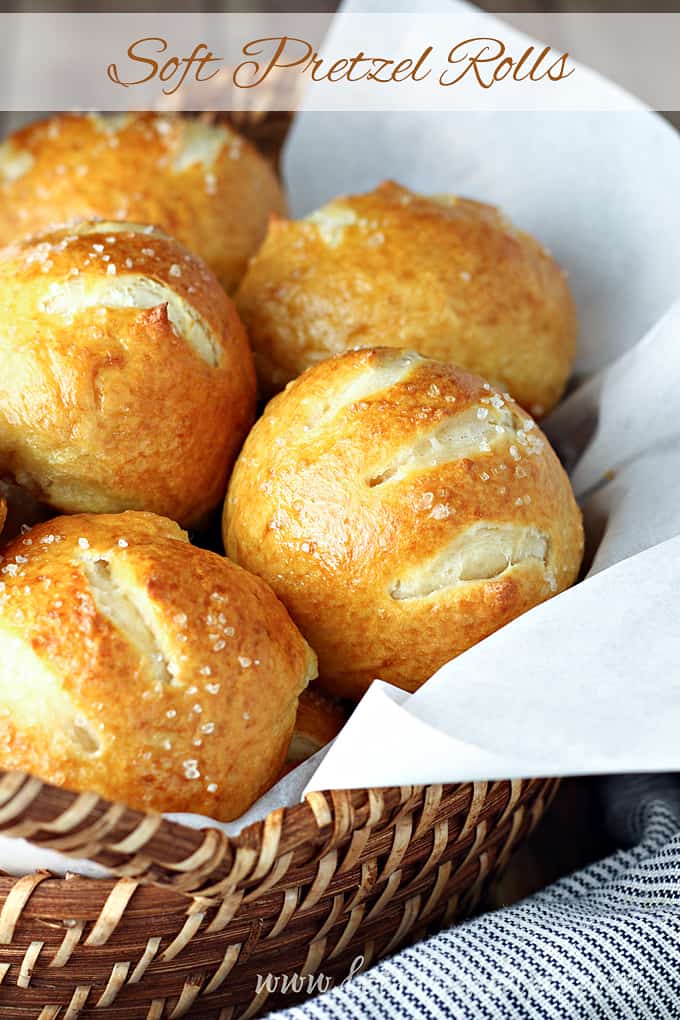
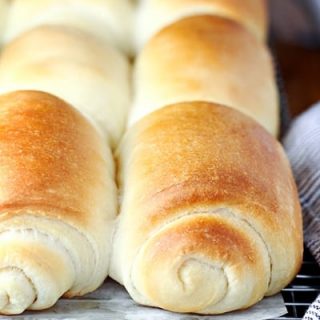
SOFT PRETZEL ROLLS — Yeast dough is formed into rolls, boiled in a baking soda bath, then baked until dark golden brown to create these perfectly soft and chewy rolls.
Oh my goodness friends! These Soft Pretzel Rolls are amazing and totally worth your time and effort in the kitchen.
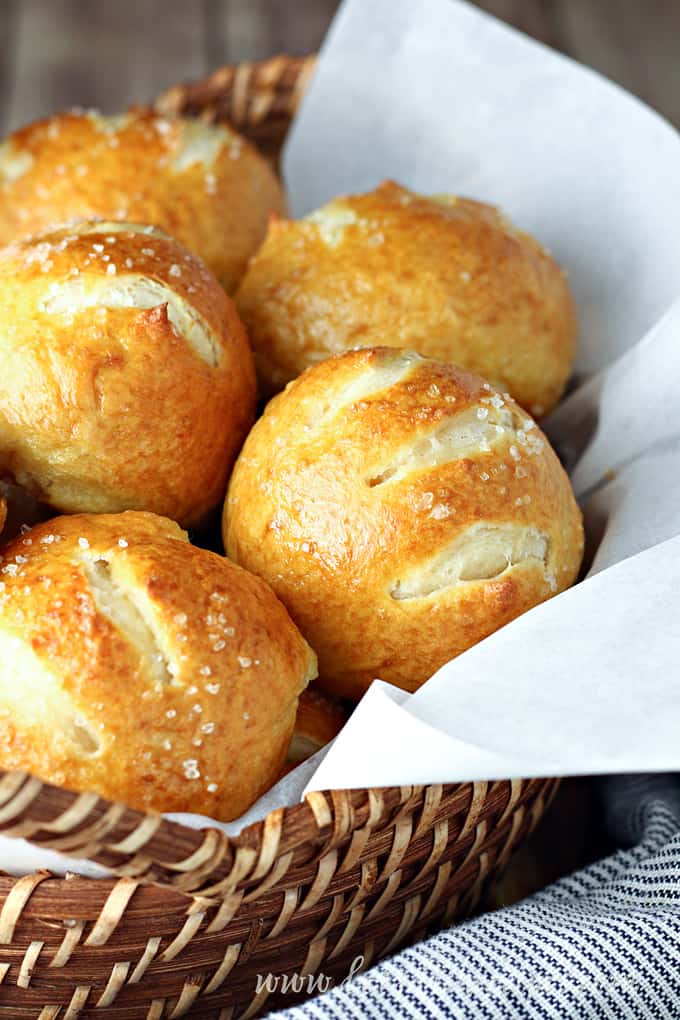
They have a chewy, golden outer crust and a soft center, just like a soft pretzel. But these are even better, because you eat them hot out of the oven!
They also make some fantastic sandwiches. Think ham and melty cheese! Slathered in honey mustard, of course. And yes, I would absolutely serve these for Thanksgiving dinner. I mean, think of the leftover turkey sandwiches.
Don’t be surprised if your friends and family don’t believe you made these rolls. That’s how amazing they look…..and taste.
Just be sure you have some course salt on hand to top off your pretzel rolls. Because it’s really not a pretzel without a sprinkling of course salt.

Like most yeast breads, these rolls aren’t difficult, they just take a little time and patience.
To get the chewy, pretzel-like crust, you boil the rolls before baking. Although it’s an extra step, it doesn’t take long and is essential for that true pretzel texture.
It’s the boiling step that gives you that perfectly chewy crust, while the inside of the rolls stays soft and fluffy.
Also, be sure to add your flour gradually–you’re looking for a dough that is a bit more stiff than regular roll dough, yet still soft.
These Soft Pretzel Rolls are truly some of the best rolls I’ve ever made. Everyone who has tried them agrees!
WHAT PEOPLE ARE SAYING ABOUT SOFT PRETZEL ROLLS
Made these rolls bigger for hamburger buns and they were perfect. Added egg wash for the golden finish. Also added everything bagel seasoning to the tops for a slightly different option. Everyone loved them. Thank you for the recipe. ~ Diana
Made these this morning while sheltering-in-place during the Coronavirus crisis. Good therapy! They turned out beautiful. Smell amazing! ~ Debra
First try on this recipe and they came out very nicely! Husband used half of the dough to make braided pretzel buns: basically, just twist two ropes of dough together, boil, bake. This recipe’s a keeper! ~ Liz
These were absolutely amazing!! I will be making these again!!! They were so easy just time consuming like it says. Love them!! ~ Sandy
I’ve made these 4 times now and they’ve been perfect every time! They make great hamburger buns! LOVE this recipe! Thanks so much for sharing. ~ Dezzy
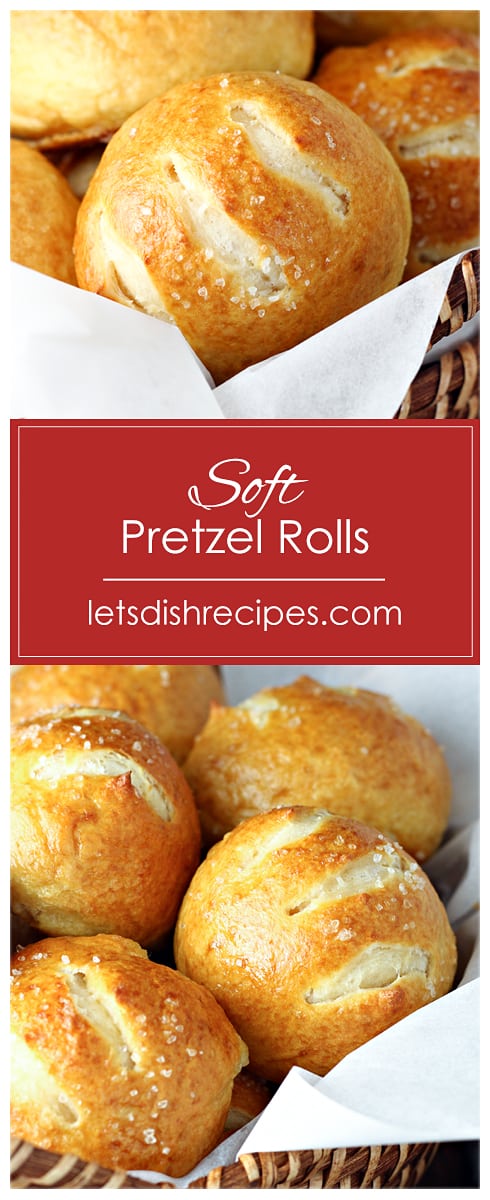
Be sure to save this recipe for Soft Pretzel Rolls to your favorite Pinterest board for later.
Here’s what you’ll need to make Soft Pretzel Rolls
- Yeast
- Vegetable or canola oil
- Milk
- Salt
- Flour
- Sugar
- Baking soda
- Coarse salt, for sprinkling
Soft Pretzel Rolls
Ingredients
- 1 tablespoon instant yeast
- 2 tablespoons canola or vegetable oil
- 2 cups warm milk about 100-110 degrees F
- 1 1/2 cups warm water about 100-110 degrees F
- 2 teaspoons salt
- 6 1/2 – 8 cups unbleached all-purpose flour
- 1 tablespoon sugar
- 1/4 cup baking soda
- Coarse salt for sprinkling
Instructions
- In the bowl of an electric mixer combine the yeast, oil, milk and water. Stir in the salt.
- Stir in 4 cups of flour, adding one cup at a time. Gradually add more flour (up to 8 cups) until a soft dough is formed. You may not need to use all the flour. Knead for 4-5 minutes.
- Transfer dough to a lightly greased bowl. Cover with greased plastic wrap and let rise until doubled in size, about one hour.
- Divide the dough into 16-18 pieces and shape each piece into a ball. Place the rolls on lightly greased parchment paper. Let rest for 15-20 minutes.
- Preheat oven to 425 degrees.
- Stir 1 tablespoon sugar and 1/4 cup baking soda into a large pot of water. Bring to a boil over medium high heat.
- Place 3-4 dough balls in the boiling water and boil for 30 seconds to 1 minute on each side (the longer you boil, the chewier the baked pretzel roll will be).
- Using a slotted spoon, remove the dough from the boiling water and let the excess water drip off into the pan. Place the boiled dough balls onto baking sheets lined with lightly greased parchment paper.
- Using a very sharp knife, make 2-3 slits in the top of each unbaked roll, about 1/4-inch deep. Lightly sprinkle each dough ball with coarse salt. Bake for 13-17 minutes, or until the rolls are deep golden brown.
Nutrition
Never miss a Let’s Dish Recipe:
Facebook | Pinterest | Instagram | Twitter
If you love this recipe, you might also like:
More Delicious Bread Recipes
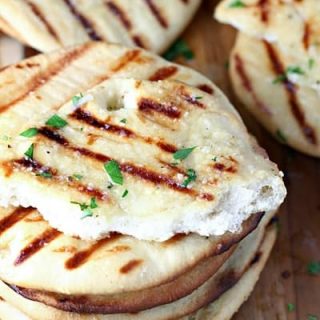
Indian Naan Bread
This traditional Middle Eastern yeast bread is grilled then slathered with butter and sprinkled with garlic salt for a savory side dish that is hard to resist.
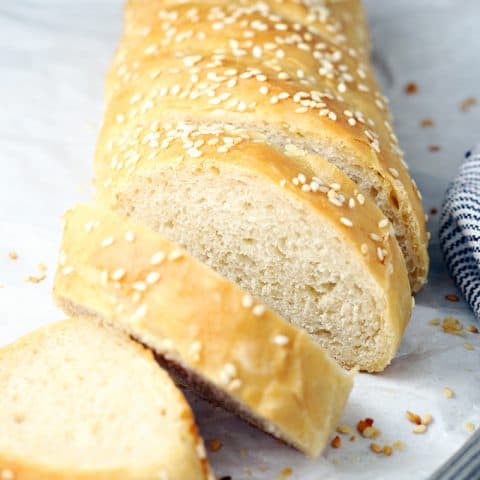
Easy Italian Bread
Bake two delicious loaves of crusty Italian bread with this easy to make recipe.

Easy Rosemary Focaccia Bread
This simple, rustic focaccia bread is quick and easy to make, and the possibilities for toppings and mix-ins are almost endless.
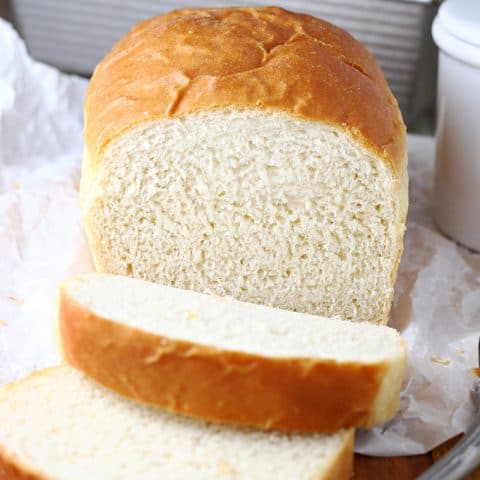
Favorite Homemade White Bread
Delicious, soft, homemade white bread doesn't have to be intimidating with this simple recipe made with everyday ingredients you probably have on hand. There's nothing better than a slice of homemade bread!
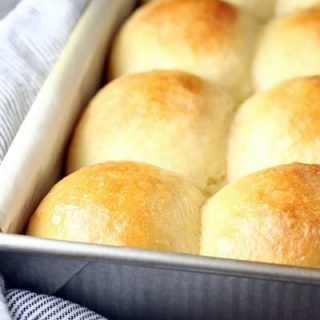
Fluffy No-Knead Dinner Rolls
A bowl and a wooden spoon is all you need to make these fluffy, no-knead dinner rolls.
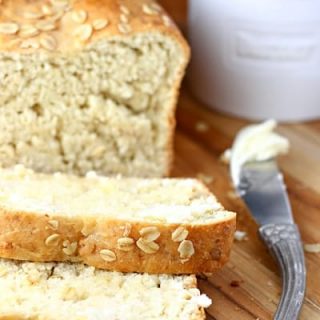
No-Knead Honey Oat Bread
This easy yeast bread is sweetened with honey and loaded with oats. Which makes this no-knead honey oat bread perfect for toast, sandwiches and snacking.
Rustic Rosemary Bread
This simple yeast bread is infused with fresh rosemary and sprinkled with sea salt for a beautiful loaf that goes well with almost any meal.
Favorite Dinner Rolls
These soft, buttery dinner rolls are perfect for special occasions and holidays. They freeze well too!
Who Dished It Up First: Adapted from Mel’s Kitchen Cafe.
Last Updated on 2024-03-22 by Danelle
Jodee Weiland
These pretzel rolls look so delicious and fresh! I love the recipe…thanks for sharing!
Kelley
These look amazing! I love a good pretzel, even though they do take time to make. But they are totally worth the effort like you said. Ill have to try these soon! YUM
Cynthia
There’s far too much liquid in this recipe. I followed the recipe exact, and ended up with what looked like yeast pudding. I ended up having to add nearly 12 cups of flour instead of the 6-8 listed. When I finally got to bake them, they didn’t look anything like the picture (they didn’t brown on top at all), they smelled heavenly, however they didn’t exactly taste like a pretzel roll, there was only a hint of that flavor due to the pre-baking boil. They did taste decent, just not how they were supposed to taste. If anyone choses to follow this recipe I recommend cutting the milk in half, and maybe cut the water down to just a cup. Add 1 tablespoon of sugar to the dough as well. Right before throwing them into the oven, maybe brush with some melted butter then top with the coarse salt.
Christine
I had to use a lot more flour too, to get the dough anywhere near the right consistency.
Abbie @ Needs Salt
These rolls look so good. Definitely going to try sometime.
Pinning!
Karin
Can I deep freeze these?
Rebekah
After the rising phase, did you punch the dough down to release air or did you pull straight from the bowl to form the dough balls?
Danelle
I didn’t actively punch it down, but it did naturally deflate and release air when I divided it into dough balls.
Ashleigh
Have you ever made the dough up to the point of baking and freeze them for later?
Danelle
I have never tried that, but I’d love to know how it turns out if you do!
Maddy Steele
I have! They weren’t AS good but still delicious when baked after being defrosted. You let them rise the first time in the bowl after mixing and then form the dough balls. Then you freeze them while on pan and shaped but before their risen just until hard/frozen enough to not stick together… about an hour. After that I just threw them in a freezer ziplock and labeled it with the rest of the baking instructions! (By the time I got around to baking them again it was nice to have on the bag the oven temp, baking and rising time so I didn’t have to go searching for the recipe again!!
Dezzy
I’ve made these 4 times now and they’ve been perfect every time! They make great hamburger buns! LOVE this recipe! Thanks so much for sharing.
Danelle
Thanks so much Dezzy!
Amy
I made these and they didn’t really raise. I I thought my yeast was maybe bad but checked it with sugar and warm water and it rose like it should.
Sandy
These were absolutely amazing!! I will be making these again!!! They were so easy just time consuming like it says. Love them!!
Danelle
Thank you Sandy!
liz n.
First try on this recipe and they came out very nicely!
Husband used half of the dough to make braided pretzel buns: basically, just twist two ropes of dough together, boil, bake.
This recipe’s a keeper!
Danelle
Awesome! Thanks so much.
Kristin
These pretzel rolls look beautiful! I tried a pretzel roll recently, and was a little disappointed in the outcome, so I’m searching for others and found yours. I was wondering how much boiling water you need? I’m not sure if there’s a specific ratio of water to baking soda. I was also curious to know why sugar is added to the water, instead of just baking soda. I haven’t seen that before with making pretzels. Just curious!
Danelle
There’s not a specific amount of water you need. As long as it’s enough to put in 3-4 dough balls at a time. I use the same pot I use for spaghetti. But there’s not a specific ratio. And honestly, I don’t know about the sugar. I’m sure they’d turn out fine if you left it out.
Kristin
So, I made these for dinner tonight. This is a lot of dough, so I made more than 16-18 rolls. They were nice and chewy, and my family loved them. HOWEVER, mine do not look like yours. How did you get them so perfect-looking? Yours have a dark sheen (I baked mine for 18-20 minutes… and they were smaller rolls… and mine never got this dark), and yours have a smooth finish and the slashes in the top kept their shape. Mine looks rougher on the surface, and the slashes seem to split open a little. I boiled them for 30 seconds on each side. I’m really trying to seek for perfection on these. Suggestions?
Danelle
The website I adapted this recipe from has some great step-by-step pictures at the bottom of the post that might help. https://www.melskitchencafe.com/amazing-soft-pretzel-rolls/
Other than that, I honestly don’t have any secrets for making these. But of course I picked the very best looking pretzel roll of the entire batch for my picture. 🙂 And if you look closely, even mine are kind of wrinkly.
Christine
The first time I made these, they were delicious but turned out rather pale.
The next time I made them, I used 8 cups of water, 1 tbsp of dark brown sugar and 1/4 cup baking soda and they turned out nice and dark, just like the pictures on this website.
Christine
I forgot to mention in my first comment above, I also used an egg wash (1 whole egg beaten with one tablespoon of 10 percent cream). This contributed to the browning as well.
Christine
The first time I made these, they were delicious but turned out rather pale.
The next time I made them, I used 8 cups of water, 1 tbsp of dark brown sugar and 1/4 cup baking soda and they turned out nice and dark, just like the pictures on this website.
Sarah S.
How well the dough rises is affected by the temperature of the room. So baking bread in January is harder than in July. I have heard putting it in a warm oven helps, but I’ve totally ruined dough that way because even my lowest setting was too hot. Silly overachieving oven.
Song of songs
Sarah when letting dough rise in the oven only the oven light should be on …not the oven …the light warms the dough just enough to get a beautiful rise..i never rise my doughs any other way.
Jordan
My dough didn’t reallt rise. I tried doing the warning method that didn’t help. So I tried again, still didn’t rise. I’ve never used a yeast recipe that doesn’t use sugar to rise the yeast… wondering if that was left out of this recipe?
Orsola Pellicano
Omg they came out amazing…..they were almost all gone lol…..love it.
Thank you so much for this amazing recipe 🙂
melanie gardner
Thank you so much for the great recipe. Me and my four year old made them today for burgers tonight. They turned out great.
Debra
Made these this morning while Sheltering-in-Place during the Coronavirus crisis. Good therapy! They turned out beautiful. Smell amazing!
Diana
Made these rolls bigger for hamburger buns and they were perfect. Added egg wash for the golden finish. Also added Everything bagel seasoning to the tops for a slightly different option. Everyone loved them. Thank you for the recipe.
John smith
Couldn’t find the “course” salt. They did have coarse salt however.