

Why You’ll Love This Recipe
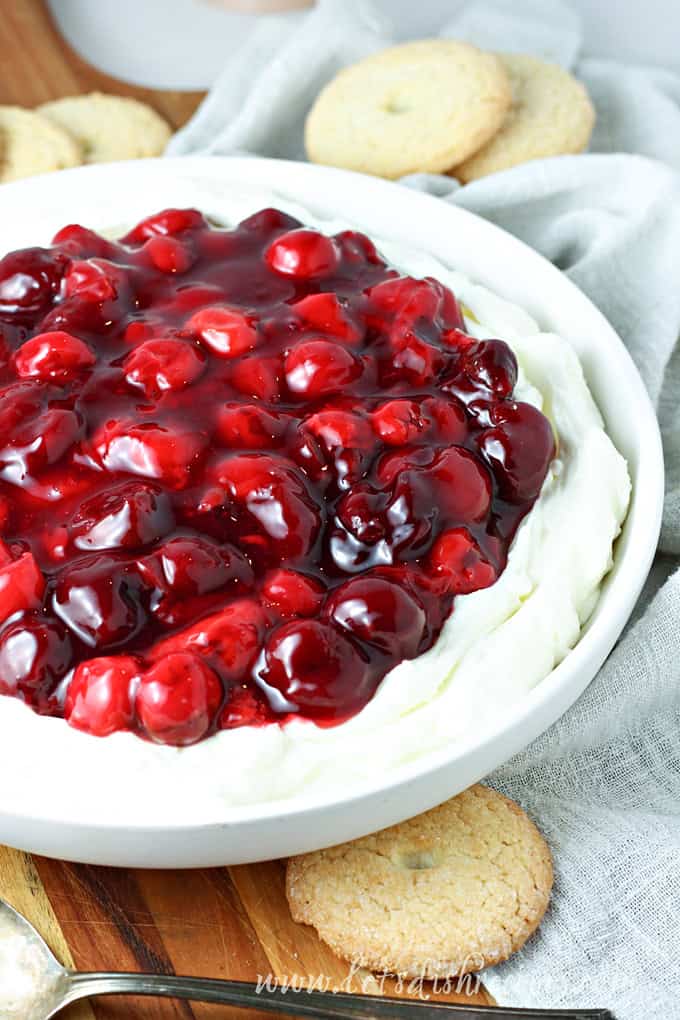
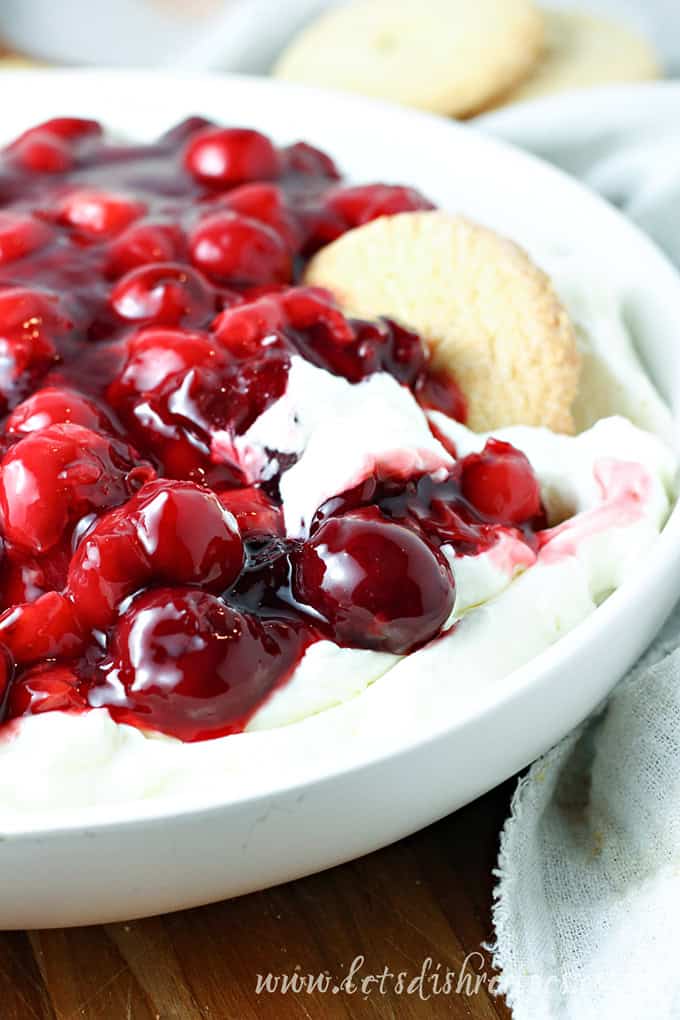
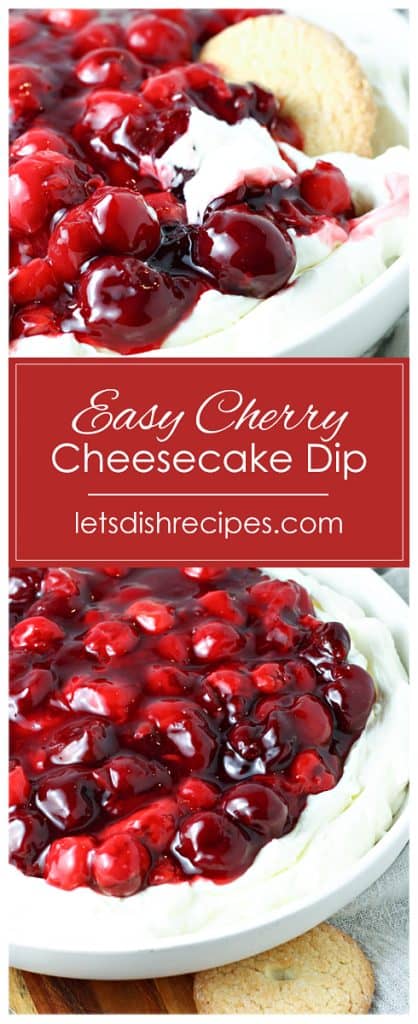
Creamy, sweet, and bursting with cherry flavor, this Cherry Cheesecake Dip is the ultimate crowd-pleaser! With a luscious no-bake cheesecake base and a homemade cherry topping, it’s the perfect easy dessert for parties, holidays, or a fun family treat. Serve it with graham crackers, cookies, or fruit for an irresistible dip everyone will love!
- When it comes to quick and easy dessert recipes, it really doesn’t get any easier! This dip comes together in about 10 minutes, so it’s perfect for surprise guests and last minute gatherings.
- If you love cheesecake, but don’t want the hassle of baking and slicing a cheesecake, this recipe is the perfect solution.
- This dip is perfect for taking to parties and potlucks. It’s always one of the first things to disappear!
After you preview the recipe card, be sure to look below for ingredient substitutions, recipe and storage tips, and suggestions for pairings and fun varations!
Cherry Cheesecake Dip w/Homemade Topping
Ingredients
For the cherry topping:
- 4 cups frozen cherries
- 1/2 cup sugar
- 2 tablespoons cornstarch
- 1/4 cup water
- 1 tablespoon lemon juice
- 1/2 teaspoon vanilla
For the cheesecake filling:
- 1 8 oz. package cream cheese
- 1/2 cup sugar
- 1 1/2 cups heavy whipping cream
Instructions
- In a medium saucepan, stir together the 4 cups frozen cherries, 1/2 cup sugar, 2 tablespoons cornstarch, 1/4 cup water, and 1 tablespoon lemon juice. Bring to a boil over medium heat. Reduce heat and simmer until thickened, 5-10 minutes.
- Remove from heat and stir in 1/2 teaspoon vanilla. Transfer to a bowl and refrigerate until cooled completely.
- With an electric mixer, beat 1 8 oz. package cream cheese and 1/2 cup sugar in a large bowl until smooth.
- In a medium bowl, beat 1 1/2 cups heavy whipping cream with an electric mixer until stiff peaks form. Gently fold the whipped cream into the cream cheese mixture.
- Spread the cheesecake mixture evenly in a pie plate or shallow bowl. Spread the cherry pie filling over cheesecake layer.
- Serve immediately with cookies, graham crackers, etc. Or cover and refrigerate until ready to serve.
Nutrition
Ingredient Notes and Substitutions
Frozen, Fresh or Canned Cherries?
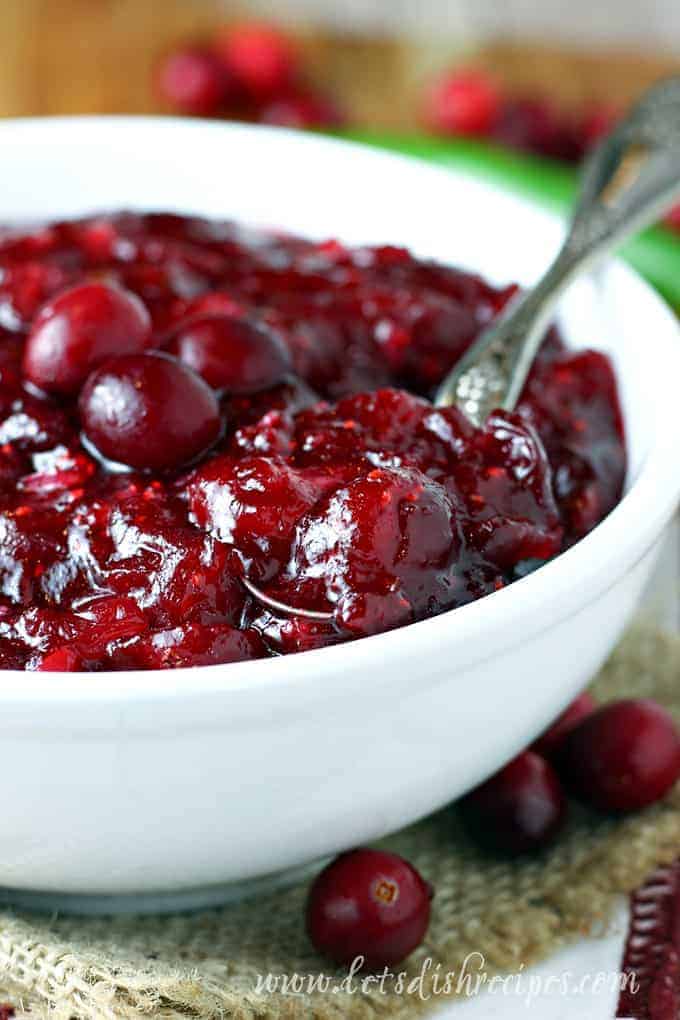
- My favorite way to serve this dessert is with homemade cherry topping, made from frozen cherries. It’s an extra step that only takes about 10 minutes, and makes a big difference in both the flavor and presentation of the dish.
- Don’t have 10 minutes to spare? That’s when I open up a can or two of store-bought cherry pie filling. It’s still absolutely delicious and you’ll get no complaints.
- Fresh Cherries: Definitely an option if you have time and want to make your own topping completely from scratch. My homemade cherry pie filling is a great place to start.
Lighten It Up
Although I don’t recommend using light or low fat ingredients when making cheesecake (baked or no-bake) because they don’t set up as well, this recipe is an exception. Because it’s being served in dip form, it’s okay if you want to cut back on calories using light cream cheese or light whipped cream. Your dip may not be quite as thick, but it will still taste amazing!

Recipe Tips
- Start your pie filling by creating a slurry with your starch and a bit of water. If you add your starch directly to the filling during cooking, you might end up with lumps, and nobody wants that.
- Different starches will give you different results. Cornstarch results in a clear, glossy finish and makes for a beautiful presentation. Flour will give you a more cloudy finish. I prefer using flour for making roux to thicken creamy soups and sauces. Quick-cooking tapioca also gives a somewhat clear finish, but it can be quite sticky. If you’re using tapioca to make a pie, let the filling sit at least 15 minutes before baking for the tapioca to soften.
- Let the cherry topping cool completely. If you spread warm cherry topping over the cheesecake mixture, it can melt and thin out the creamy layer. Let the cherries cool in the fridge for at least 30 minutes before adding them to the cheesecake filling.
- Soften your cream cheese before making the filling. Cold cream cheese can turn lumpy when mixed, so let it soften at room temperature for about 30 minutes before beating.
- Whip your cream until stiff peaks form. For a light and fluffy cheesecake base, it’s important to beat the heavy cream until stiff peaks form. This helps the dip hold its shape and gives it a more luxurious texture.
Making Ahead and Storing Leftovers
Make Ahead Instructions
- Prepare the cream cheese mixture up to 2 days in advance and store it in an airtight container in the refrigerator. Add the cherry topping just before serving so it doesn’t separate or make the dip watery.
- If you want to fully assemble the dip ahead, do so no more than 24 hours in advance and keep it covered in the refrigerator until serving.
Storing Leftovers
- Store leftovers, covered, in the refrigerator for up to 3 days. I don’t recommend freezing—cream cheese can become grainy when thawed.
Variations & Fun Twists
- Chocolate Cherry Cheesecake Dip: Add 2 tablespoons of cocoa powder to the cream cheese mixture and top with mini chocolate chips.
- Almond Cherry Cheesecake Dip – Add ½ teaspoon of almond extract to the cheesecake mixture for a unique flavor.
- Nutella Cherry Cheesecake Dip: Swirl a 1/4 cup of Nutella into the cream cheese mixture before adding the cherry topping.
Pairings
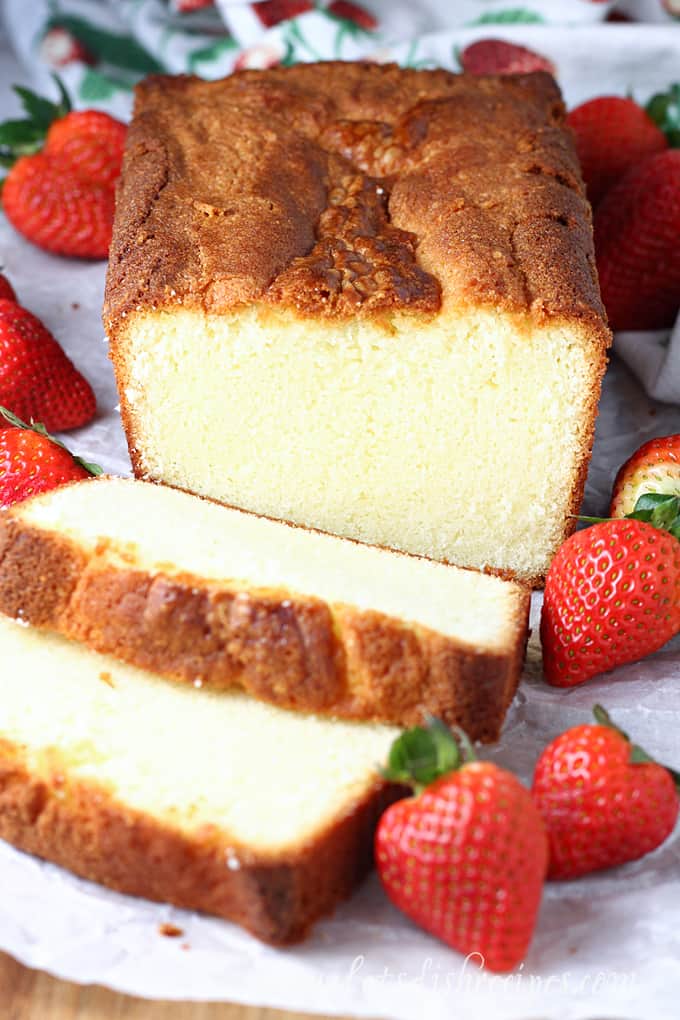
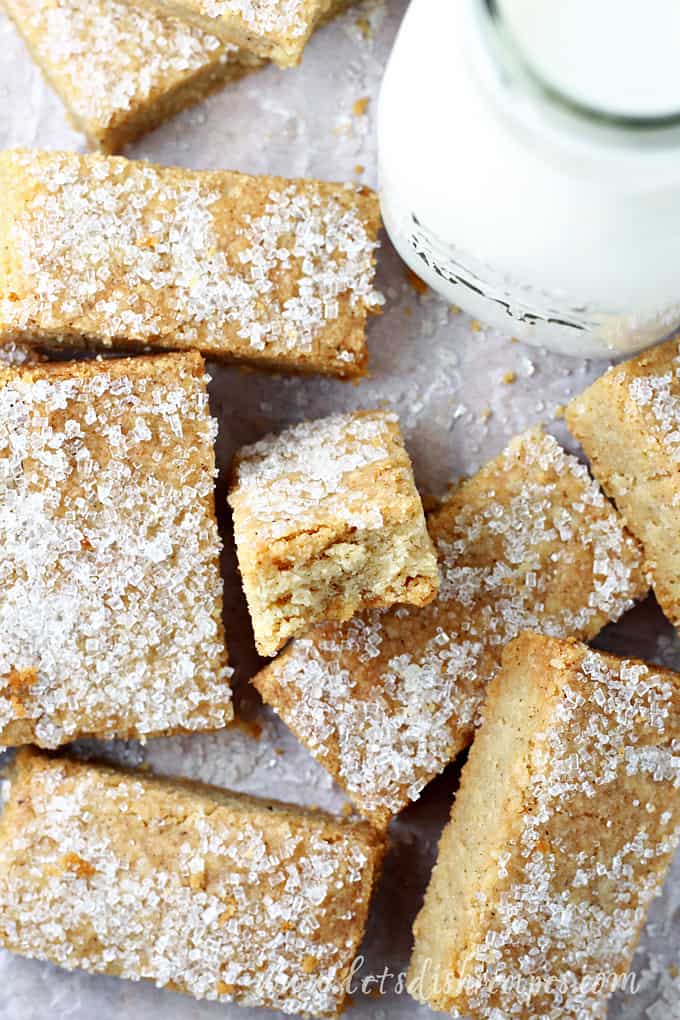
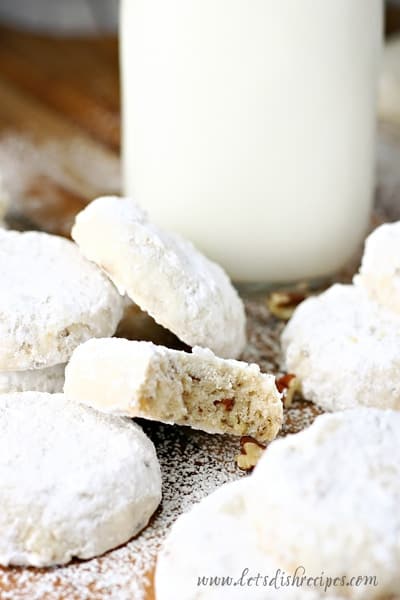
I love to serve this dip with an assortment of store-bought cookies, cakes and sweet crackers, like graham crackers, pound cake, shortbread or vanilla wafers. Fresh fruit, like strawberries also works great.