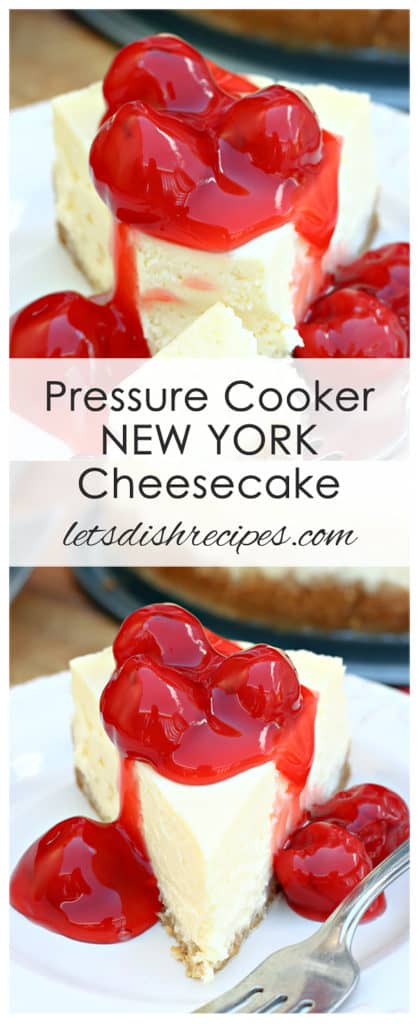
PRESSURE COOKER NEW YORK CHEESECAKE: Rich and creamy New York style cheesecake, made in the Instant Pot. Perfect topped with chocolate, caramel or fruit filling.
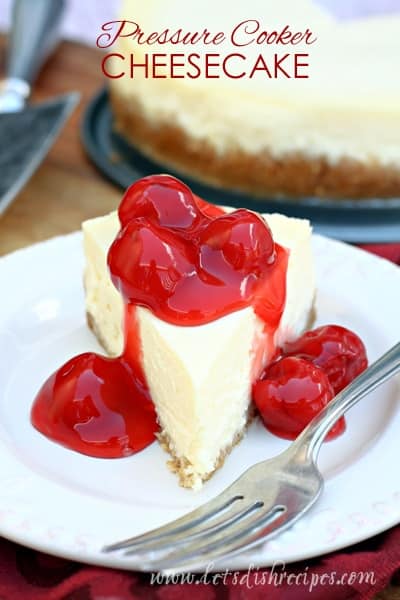
If you’re the proud owner of an Instant Pot or electric pressure cooker, then I’ve got a special treat for you! This Pressure Cooker New York Cheesecake came out absolutely perfect! It’s the most delicious thing I’ve made in my Instant Pot so far!
You will need a slightly smaller than average cheesecake pan–7 inches to be exact–to make a cheesecake in your pressure cooker.
Thank you so much for this recipe! It turned out absolutely delicious! The texture came out so smooth and creamy. I made a delicious raspberry sauce to go with it and they paired wonderfully. ~ Eliza
I got mine on Amazon and it was worth every penny! This is definitely the best cheesecake I’ve ever made!
If you think about it, a pressure cooker is the perfect environment for making a cheesecake. Even better, you don’t have to worry about all those extra steps, like a water bath, or leaving the cheesecake in the oven with the door cracked.
I’ve tried so many tips and tricks for making the perfect cheesecake, and none of them have been foolproof. Until I made a cheesecake in the Instant Pot.

Not only did this cheesecake come out without a single crack, the texture was spot on!
Just be sure to follow the directions exactly. It’s especially important to refrigerate your cheesecake for the recommended time. Overnight is best.
This is a great basic cheesecake recipe that can be topped off any way you’d like. The possibilities are endless, from fruit toppings to chocolate or caramel.
However you decide to finish it off, the results will be delicious! Trust me, if you own an Instant Pot, this is one recipe you need in your collection.
Be sure to save this Pressure Cooker New York Cheesecake recipe to your favorite Pinterest board for later.
Here’s what you’ll need to make Pressure Cooker New York Cheesecake
- Graham cracker crumbs
- Butter
- Cream cheese
- Sugar
- Heavy cream
- Sour cream
- Vanilla
- Salt
- Flour
- Eggs
Pressure Cooker New York Cheesecake
Ingredients
Crust:
- 1/2 cup graham cracker crumbs
- 2 tablespoons butter melted
Filling:
- 12 ounces cream cheese room temperature
- 1/2 cup sugar
- 1/4 cup heavy cream
- 1/4 cup sour cream
- 2 teaspoons vanilla extract
- Pinch of salt
- 1 tablespoon all purpose flour
- 2 eggs room temperature
- 1 egg yolk room temperature
Instructions
- Lightly grease a 7-inch springform pan. Fold a long piece of foil into a sling, 5-6 inches wide and about 20 inches long.
- In a small bowl, combine the graham cracker crumbs and butter. Spread evenly in the bottom and slightly up the sides of the pan. Place in the freezer for 10 minutes.
- With an electric mixer, mix the cream cheese and sugar at medium speed until smooth. Blend in heavy cream, sour cream, vanilla, salt and flour.
- Stir in eggs one at a time just until blended; do not over mix. Pour the batter over the chilled crust. Cover top of springform pan with aluminum foil.
- Pour 1 cup of water into the pressure cooking pot, and place the trivet in the bottom.
- Carefully center the filled pan on the foil sling and lower it into the pressure cooking pot. Fold the foil sling down so that it doesn’t interfere with closing the lid.
- Lock the lid in place. Select high pressure and set the timer for 35 minutes. When beep sounds, turn off pressure cooker. Use a natural pressure release for 10 minutes, and then a quick pressure release to release any remaining pressure.
- When valve drops carefully remove lid. Remove cheesecake and check the cheesecake to see if the middle is set (It should be just set in the middle, or even slightly wobbly). If not, cook the cheesecake an additional 5 minutes.
- Remove the springform pan to a wire rack to cool. Remove aluminum foil. When cheesecake is cooled, refrigerate covered with plastic wrap for at least 4 hours or overnight.
Video
*As an Amazon Associate I earn from qualifying purchases. I get commissions for purchases made through links in this post.
Notes
Never miss a Let’s Dish Recipe:
Facebook | Pinterest | Instagram | Twitter | Google+
If you love this recipe, you might also like:
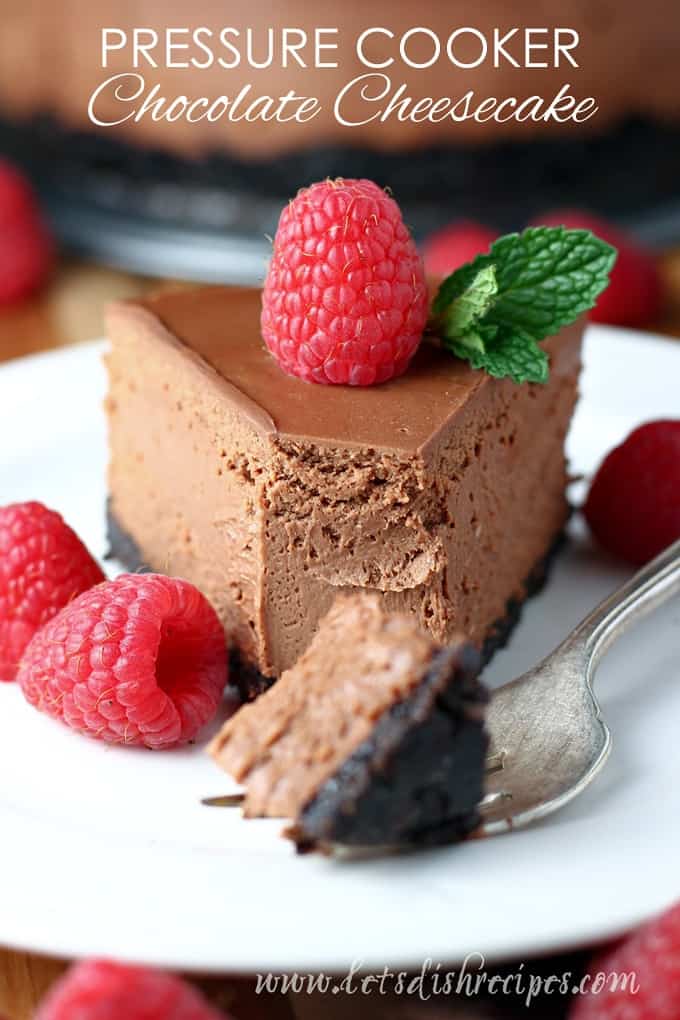
Pressure Cooker Chocolate Cheesecake
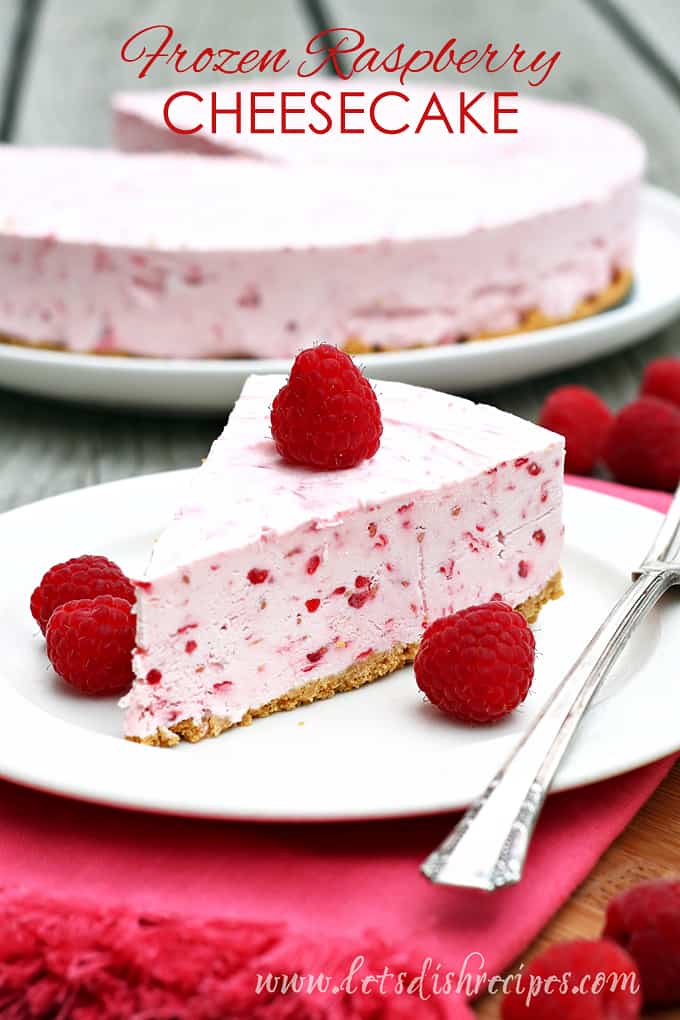
Frozen Raspberry Cheesecake
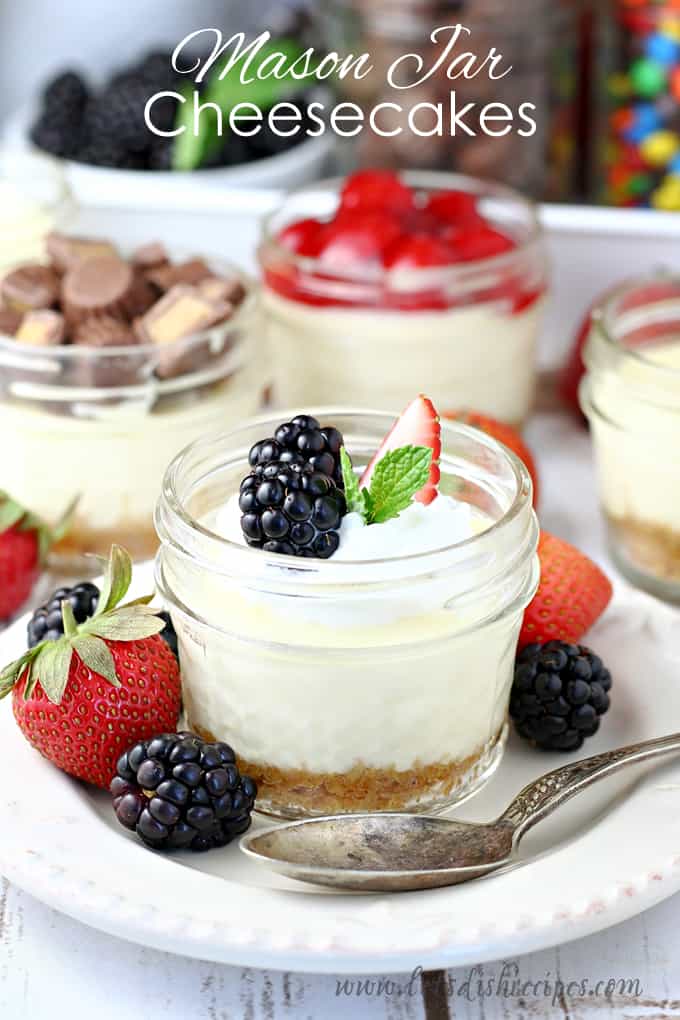
Mason Jar Cheesecakes
Who Dished It Up First: Adapted from Pressure Cooking Today


3 comments
Eliza
Thank you so much for this recipe! It turned out absaloutly delicious! The texture came out so smooth and creamy. I made a delicious raspberry sauce to go with it and they paired wonderfully.
Barbara Schieving
It looks fabulous! So fun to have a new pressure cooker cheesecake lover. It really is great. Thanks for linking to Pressure Cooking Today.
Grace
Instant Pot for the win! I’m ordering the springform pan today because it’s the only thing I don’t have on hand to make this right now rightnow RIGHT NOW. 😉