This easy no bake recipe is a perfect last minute dessert for the busy holiday season. With a chocolate crumb crust and a creamy peppermint cheesecake mousse filling, it’s sure to be a hit an any holiday celebration.
Everyone needs a quick, easy dessert recipe up their sleeve for the busy holiday season, and it doesn’t get any easier than this No Bake Peppermint Cheesecake Mousse!
Peppermint is such a classic holiday flavor, and with a chocolate crumb crust, this no-bake cheesecake mousse covers all the bases. It tastes delicious, looks pretty, and it’s easy to make. What more could you ask for?
One of the most popular dessert recipes on my blog is No-Bake Cheesecake Mousse. With a few simple tweaks, I turned it into this fun, holiday version.
Needless to say, if you’re a fan of peppermint and cheesecake, you’re going to love this! And if you need to make a gluten free version, just omit the chocolate crumb crust. If you must have the chocolate, try garnishing the mousse with some chocolate shavings instead.
The best part is that you can whip this mousse up in about 20 minutes. I mean, who doesn’t need a 20 minute dessert recipe in their collection for the busiest time of year?
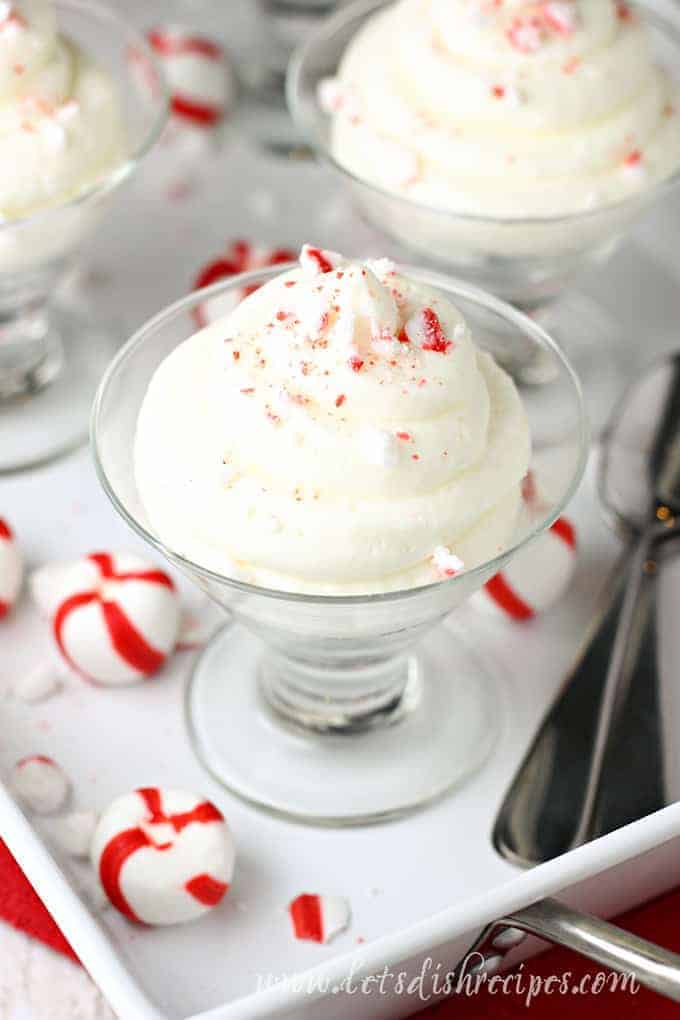
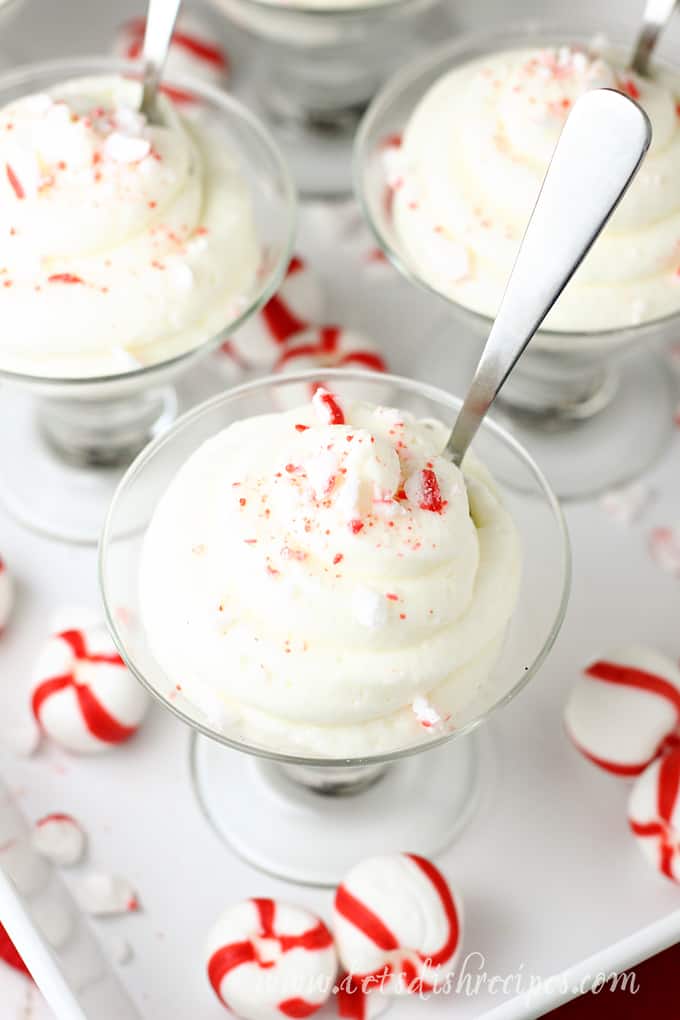
I like to garnish my mousse with a few simple sprinkles of crushed peppermint candy. But you could also add some hot fudge topping for an extra decadent dessert.
If you don’t have mini dessert dishes, the 4 oz. size Mason jars work perfectly for this recipe. You can also add all the filling to a single chocolate crumb pie crust and serve it that way.
Either way, this simple, peppermint infused cheesecake mousse is sure to be a hit at any holiday gathering. And no one needs to know you didn’t spend hours in the kitchen!
Be sure to save this No Bake Peppermint Cheesecake Mousse recipe to your favorite Pinterest board for later.
Here’s what you’ll need to make No Bake Peppermint Cheesecake Mousse
- Oreo cookies
- Butter
- Cream cheese
- Powdered sugar
- Vanilla
- Peppermint extract
- Heavy cream
- Corn syrup
- Crushed peppermint candy
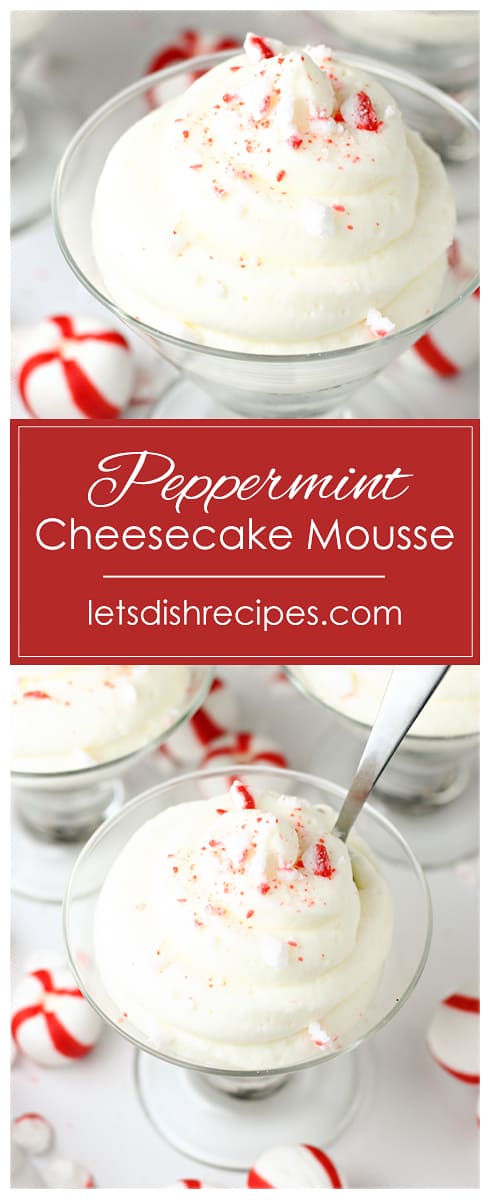
No Bake Peppermint Cheesecake Mousse
Ingredients
- 12 Oreo cookies crushed to fine crumbs
- 2 tablespoons butter melted
- 8 ounces cream cheese softened
- 3/4 cup powdered sugar
- 1/2 teaspoon vanilla extract
- 1/2 teaspoon peppermint extract
- 1 1/4 cups heavy cream
- 1/2 teaspoon corn syrup
- Crushed peppermint candies for garnish
Instructions
- In a medium bowl, combine crushed Oreo cookies and melted butter. Divide the cookie crumbs between 6-8 small dessert dishes. Set aside.
- With an electric mixer on high speed, beat the cream cheese until smooth.
- Mix in the powdered sugar, vanilla and peppermint extract until well incorporated. Set aside.
- In a separate bowl, beat the heavy cream with an electric mixer until soft peaks form. Add the corn syrup and continue beating until stiff peaks form.
- Fold half of the whipped cream into the cream cheese mixture. Repeat with the remaining whipped cream.
- Pipe or spoon the mousse into the prepared dessert dishes. Refrigerate until ready to serve. Garnish with crushed peppermint candies before serving.
Nutrition
Never miss a Let’s Dish Recipe:
Facebook | Pinterest | Instagram | Twitter
If you love this recipe, you might also like:
More Delicious Holiday Recipes

Homemade Peppermint Chocolate Chip Ice Cream
Mini chocolate chips and crushed peppermint candy add some holiday flavor and flare to classic vanilla ice cream.
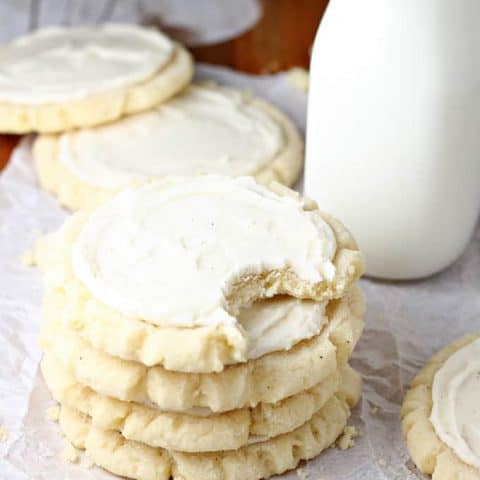
Frosted Eggnog Sugar Cookies
Big, bakery style sugar cookies are infused with eggnog and nutmeg, then finished off with a creamy eggnog frosting. Say hello to your new favorite holiday cookie!
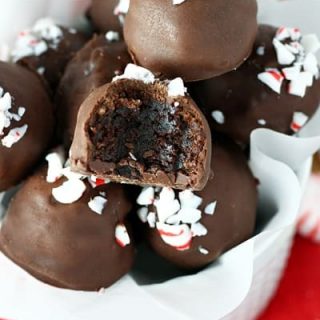
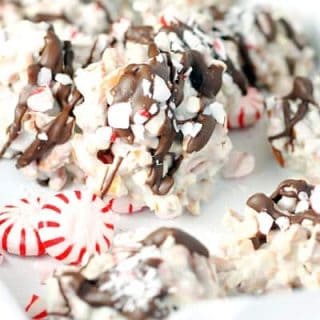
White Chocolate Peppermint Pretzel Candy
Pretzels, peppermint and two kinds of chocolate come together in this easy holiday treat!
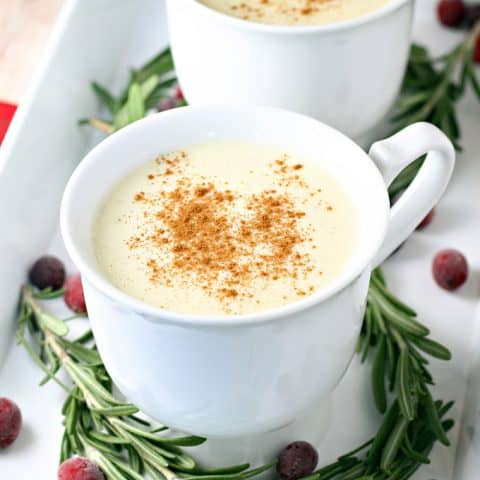
Homemade Egg Free Eggnog
Why buy eggnog at the store when you can have creamy, delicious egg-free eggnog all year long with this easy-to-make recipe.
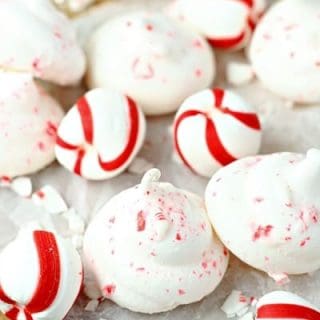
Peppermint Meringues
These light and airy peppermint meringues are perfect for stirring into a cup of hot cocoa.
Who Dished It Up First: This is an original recipe.
Last Updated on 2024-06-08 by Danelle
Jennifer
Would this hold up if I made it a day ahead of time?
Danelle
I would make all the separate elements ahead but then assemble it the day you plan to eat it.