


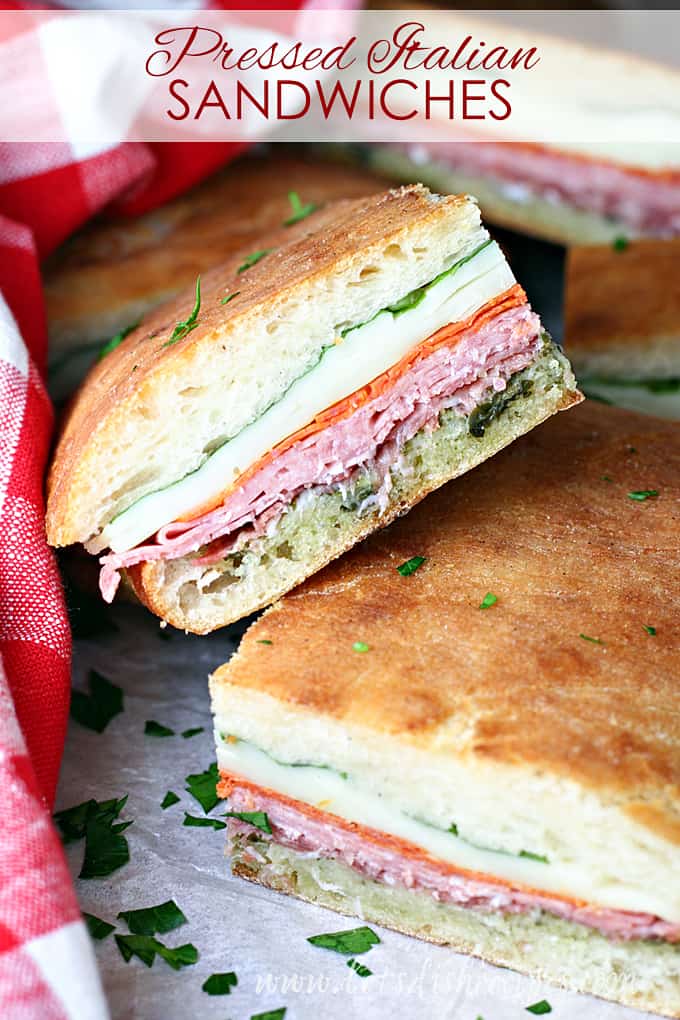
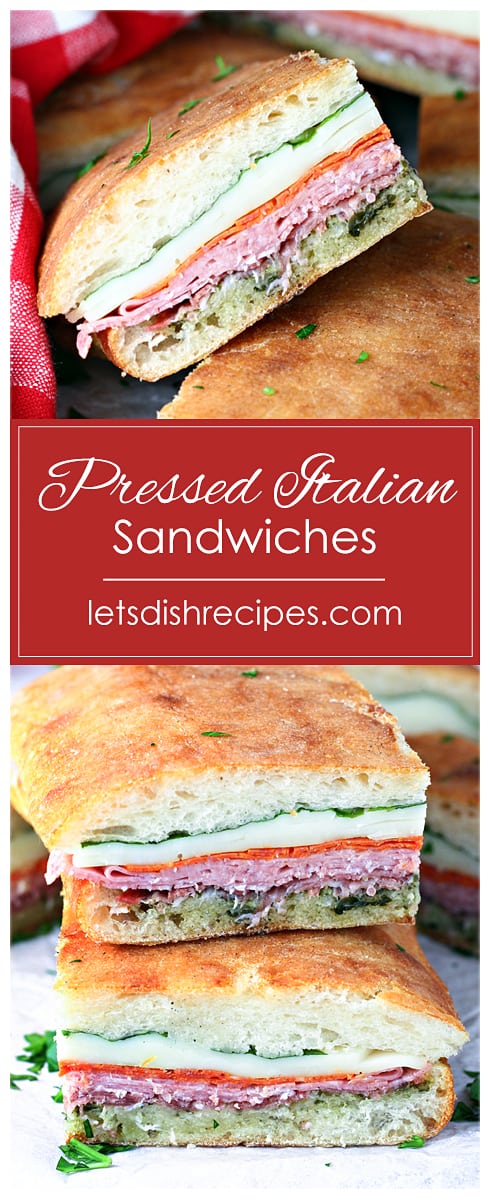
Italian meats and cheeses are layered with pesto and fresh basil, then wrapped and pressed in these flavorful sandwiches that are perfect for picnics and parties.
Why You’ll Love This Recipe
It’s picnic weather somewhere, right? Because I have been anxiously waiting to share these Pressed Italian Sandwiches with you.
Not that you should wait for a picnic to make them, because they are pretty much my favorite sandwich ever.
They just happen to be the perfect picnic sandwich, since they’re loaded with meat and cheese, and everything is squeezed into a neat, compact package. And there’s no mayonnaise, so you don’t have to worry if you’re sandwiches is out of the refrigerator for a little while.
I’ve also served these sandwiches at parties and buffets and they’re always a huge hit. The best part is, they need to be made the ahead, which leaves you free for other things when you’re hosting guests.

These sandwiches keep well for 3-5 days in the refrigerator, maybe even longer, and the leftovers are great for packing in lunches. My boys love it when there are extra sandwich servings to pack in their school lunches.
In fact, my boys love these sandwiches so much, we served them for my oldest son’s graduation party. They were a huge hit, and I loved that I could get them ready a few days ahead of time.
You can use any kind of Italian cold cuts and sliced cheeses you like in the recipe. Our favorites are salami, pepperoni, soppressata and provolone cheese.
If I’m serving a crowd, I usually make two slightly different versions. The possibilities are endless, so have fun with it!
Be sure to save this recipe to your favorite Pinterest board for later.
Ingredients
- Ciabatta
- Pesto
- Italian deli meats (salami, pepperoni, etc.)
- Provolone cheese
- Spinach, basil or other greens
- Optional toppings

Pressed Italian Sandwiches
Ingredients
- 1 ciabatta loaf
- 1/4-1/2 cup prepared basil pesto
- 1/2 pound sliced Italian cold cuts salami, pepperoni, sopressata, mortadella, capocolla, prosciutto, etc.
- 1/2 pound sliced Provolone cheese
- 1 cup fresh spinach arugula or basil
- Salt and pepper to taste
Optional toppings:
- Finely chopped olives black or green
- Roasted red peppers
- Sun dried tomatoes
- Roasted garlic
Instructions
- Slice ciabatta loaf in half horizontally.
- Spread desired amount of pesto over the bottom half of the bread. Don’ t over-saturate the bread.
- Layer the Italian meats over the pesto. Top with the sliced cheese. Layer the spinach, basil or other greens over the cheese.
- Optional toppings can be added to either the top or the bottom of the sandwich.
- Place the top half of the loaf over the sandwich fillings.
- Wrap the sandwich thoroughly with plastic wrap. Place a heavy cutting board or other flat object on top of sandwich and weight it down with a 2- to 4-lb. weight (such as a cast iron skillet or six-pack of soda).
- Let the sandwich sit for at least 6 hours, but preferably over night. Unwrap, cut into 8 pieces and serve.


18 comments
Ann Delahunty
This sandwich is a total winner! My family’s always been big fans of Italian sandwiches, but the real game-changer is how easily it can be made ahead of time. It’s perfect for everything—family get-togethers, picnics, or even just weekday lunches. I especially love how versatile the ingredients are. I often repurpose leftover meats and cheeses from a charcuterie board, and it always turns out delicious. Thanks so much for sharing this gem!
Danelle
You’re so welcome! Glad you love it!
Muriel
Honestly, I think the best way to press these is to literally sit on the sandwiches, then weigh them down in the fridge. Here’s my method (and I’m not joking!):
1. Wrap your sandwich well with plastic wrap as the recipe suggested.
2. Put this sandwich in a large ziploc bag (or just large plastic bag)
3. Find a big cutting board. Put the sandwich (which is now in a bag) on a hard surface such as a wooden seat. Place the cutting board on top of the sandwich. Now sit on the sandwich. Actually, if you are fine with it, you can eliminate the cutting board and just put sandwich on hard surface and sit on it. The sandwich already has layers of plastic wrap and a plastic bag over it, so it shouldn’t be a problem. Sit on it for just bit (maybe 30 seconds).
4. Now, place sandwich in fridge. Put cutting board and some weights on top of sandwich. Ready to eat very soon or in a few days, however you like.
Muriel
Ok, it just occurred to me that the average American weight might be too much. This method works at least for people who are 140lbs and probably could be heavier. But if you are really very heavy, the bag or plastic wrap might pop. Use your judgement.
Emily
If I made these a thursday night, would they be ok to eat on a sunday night? Being kept in the refrigerator of course.
Danelle
That should work fine.