


Why You’ll Love This Recipe
If you’re looking for an easy, comforting meal that brings big flavors with minimal effort, this dish is the perfect choice. I never even heard of pierogi until I met my Canadian husband in college. I know, I was missing out! Up until now, I always boiled pierogi then fried them in some butter. But I think this Bacon Pierogi Bake recipe is the way I’ll be serving pierogi from now on.
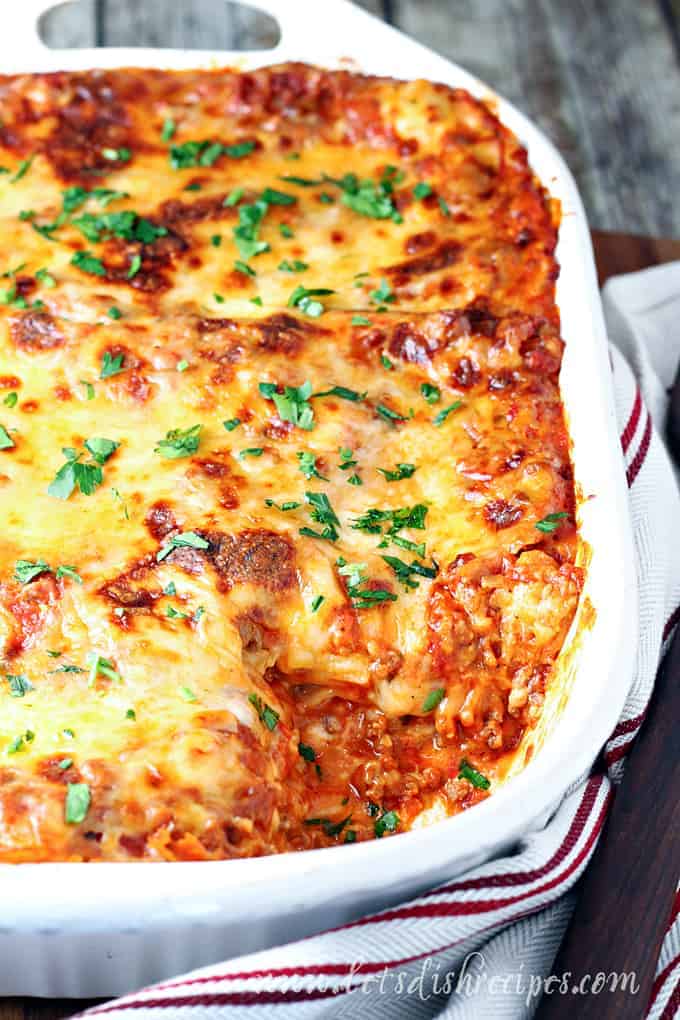
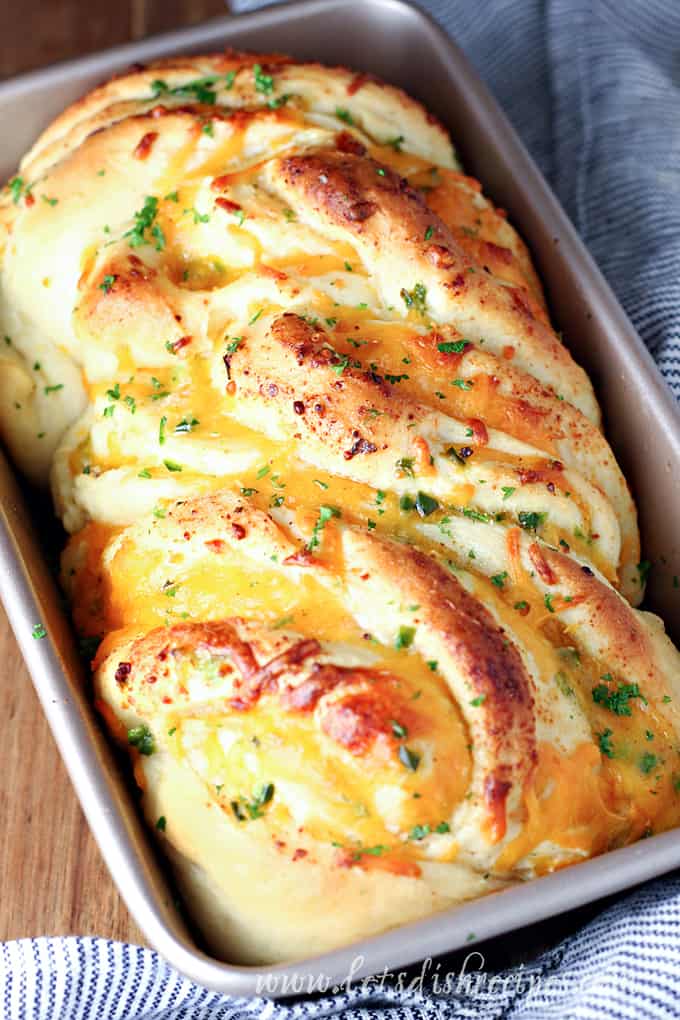
- Cheesy potato pierogi are baked in a rich, creamy garlic sauce, topped with crispy bacon, and finished with melty cheddar and fresh green onions.
- Whether you’re feeding a hungry family or need a no-fuss dinner, this recipe delivers warm, cheesy goodness in every bite.
- Pierogi are easy to keep in the freezer, so you can always have the ingredients on had for this recipe.
I’ve had friends make this and personally tell me how much their family loved it. That’s how I know it’s really good! It’s one of those meals that I know will disappear, and I won’t hear any complaints. It’s what my husband calls a “lick your plate” kind of meal. And that’s exactly what he does!
After you preview the recipe card, be sure to look below for ingredient substitutions, recipe and storage tips, and suggestions for pairings and fun varations!

Bacon Pierogi Bake
Ingredients
- 1 16 oz. package frozen potato and cheddar pierogies
- 4 slices bacon chopped
- 2 cloves garlic minced
- 1 8 oz. package cream cheese, softened and cubed
- 1/2 cup chicken broth
- Salt and pepper to taste
- 1 cup cheddar cheese
- 2-3 green onions chopped
- 1/4 cup chopped seeded plum tomato optional
Instructions
- Preheat oven to 400 degrees. Arrange the pierogies in a lightly greased, 9×9 inch baking dish.
- In a medium skillet, cook the bacon until crispy. Remove to a paper towel lined plate.
- Add garlic to drippings in pan and cook for 30 seconds. Add cream cheese to pan and cook until cream cheese begins to melt, stirring frequently.
- Gradually whisk in the chicken broth until smooth. Season sauce with salt and pepper to taste.
- Pour the cream cheese mixture evenly over pierogies. Bake for 15 minutes or until bubbly and heated through.
- Remove from oven and top with cheese. Bake for an additional 5 minutes or until cheese is melted.
- Top with cooked bacon, green onions and tomato before serving.
Nutrition
Ingredient Notes and Substitutions
What Are Pierogi and Where Do I Find Them?
- Pierogi are Polish dumplings made from unleavened dough wrapped around a savory or sweet filling. They are often boiled, but we like to give them a quick sauté in some butter after we boil them.
- Pierogi are also very popular in Ukraine and other Eastern European countries, and are traditionally served with sour cream, fried onions, or both.
- I buy pierogi in the freezer aisle of my local supermarket–the mashed potato and cheese filled is our favorite. If you have the time and energy, you can even make your own pierogi from scratch.
Cheesy Variations
- Cream cheese alternatives: You can use reduced-fat cream cheese if you want to lighten things up a bit. But hey, it’s comfort food, so no judgement if you stick with the full-fat option. For a tangier sauce, try swapping in Boursin or goat cheese.
- Cheddar cheese: I think sharp cheddar gives this dish the best flavor, but you can mix things up with Colby Jack, Monterey Jack, or even Gouda for a fun twist.
No Fresh Garlic? No Worries!
- Garlic Powder: ½ teaspoon = about 1 clove.
- Jarred Minced Garlic: Works in a pinch (or if you’re in a hurry)! Just don’t go overboard, since it can be stronger than fresh!
- Roasted Garlic: Works great if you love garlic but want a sweeter, milder flavor.


Recipe Tips
- Don’t thaw the frozen pierogi! Just add them right to the baking dish. They’ll soften perfectly as they bake in the creamy sauce. If you thaw them first, they might end up a little bit mushy.
- Customize the toppings–try adding caramelized onions, crispy fried shallots, a sprinkle of smoked paprika, chopped Roma tomatoes, or even a dollop of sour cream for extra flavor and texture.
- Once baked, let the dish sit for a few minutes before serving. This helps the sauce thicken slightly, making it easier to scoop and enjoy.
Recipe Tip From Chet (a Russian Pierogi Expert!): Chet added caramelized onions and extra chicken stock to ensure the pierogi were cooked through–and used a broiler at the end to get that perfect golden topping. He also suggests using half the cheese if you prefer a lighter dish.

Bake Your Bacon!
For less mess, try baking your bacon in the oven. Preheat your oven to 400°F (200°C). and line large baking sheet with foil. Cook for 15 to 20 minutes or until it’s reached your desired level of crispiness. Remove from the oven and transfer the bacon to a paper towel lined plate.
Once the bacon is cool, dab off any excess grease with a paper towel, then chop and place in an airtight container or bag for freezing. If you need to crisp up the frozen bacon before adding it to a dish, just pop it in the microwave for about 45 seconds.
Make It Ahead
You can assemble this pierogi bake (minus cheese topping) and store it covered in the refrigerator for up to 24 hours. When you’re ready to bake, let it sit at room temperature for about 15 minutes, then follow the baking instructions in the recipe.
Storage and Reheating
- Storing Leftovers: Store leftovers in an airtight container in the refrigerator for up to 3 days. To reheat, warm in a 350°F oven until heated through or microwave in short intervals, stirring in between. If the sauce thickens too much, add a splash of broth or milk during reheating.
- Freezing: I don’t recommend freezing this dish because the creamy sauce might separate when thawed. However, if you cook your bacon and prepare the sauce ahead of time, this dish comes together in about 20 minutes using frozen pierogi.

Pairings
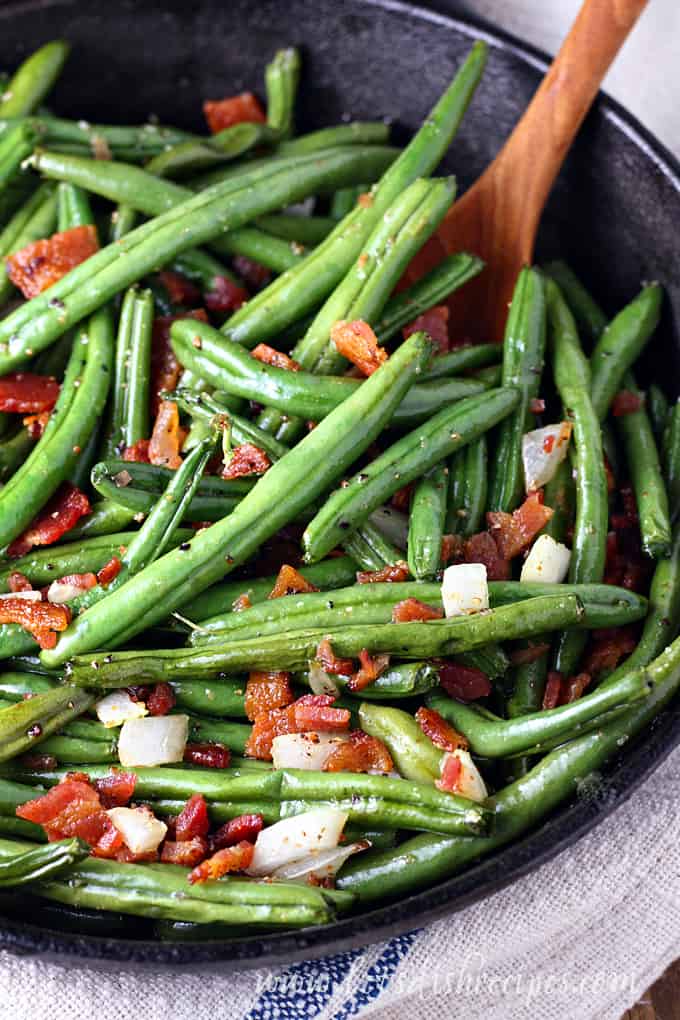
A simple kale salad goes perfectly with this dish! A creamy, cool cucumber salad is another great option. If you prefer something warm on the side, I suggest Skillet Green Beans with Bacon (because you can never have too much bacon), or some roasted asparagus.


41 comments
Lunda
It was a hit at family night dinner. Thank you 🙂
Melinda Fernie
How come the cream cheese separates?
Kathleen
I made this tonight for the first time for my 16-20 volunteer firefighters that I cook for on Thursday nights guys & we all loved it! Slot of the guys went back for seconds!! Definitely making this a lot more from here on in! Other than the amount of calories & fat! But you have to indulge from time to time & for this it’s so worth it! Yummy!
Kathleen