


Why You’ll Love This Recipe
This quiche is absolutely, hands-down, my favorite freezer meal ever! Every time I make a ham and have leftovers (which is pretty much every time I make a ham), I put together two or three of these quiches and keep them in the freezer for those times I just don’t feel like cooking.
- Make It Ahead: Assemble in advance and freeze for a ready-to-bake meal on busy mornings or when you have unexpected guests.
- No Thawing Required: Goes straight from the freezer to the oven—no need to plan ahead!
- Customizable: Change it up with different cheeses, veggies, or protein, based on what you have on hand.
- Serve It For Any Meal: It’s ideal for breakfast or brunch, but it also makes a great lunch or simple dinner paired with a salad or fresh fruit.
After you preview the recipe card, be sure to look below for ingredient substitutions, recipe and storage tips, and suggestions for pairings and tasty variations!
Make Ahead Quiche
Ingredients
- 1 tablespoon flour
- 1 cup shredded cheddar cheese
- 1 cup shredded Monterrey Jack cheese
- 1 9 inch unbaked pie crust
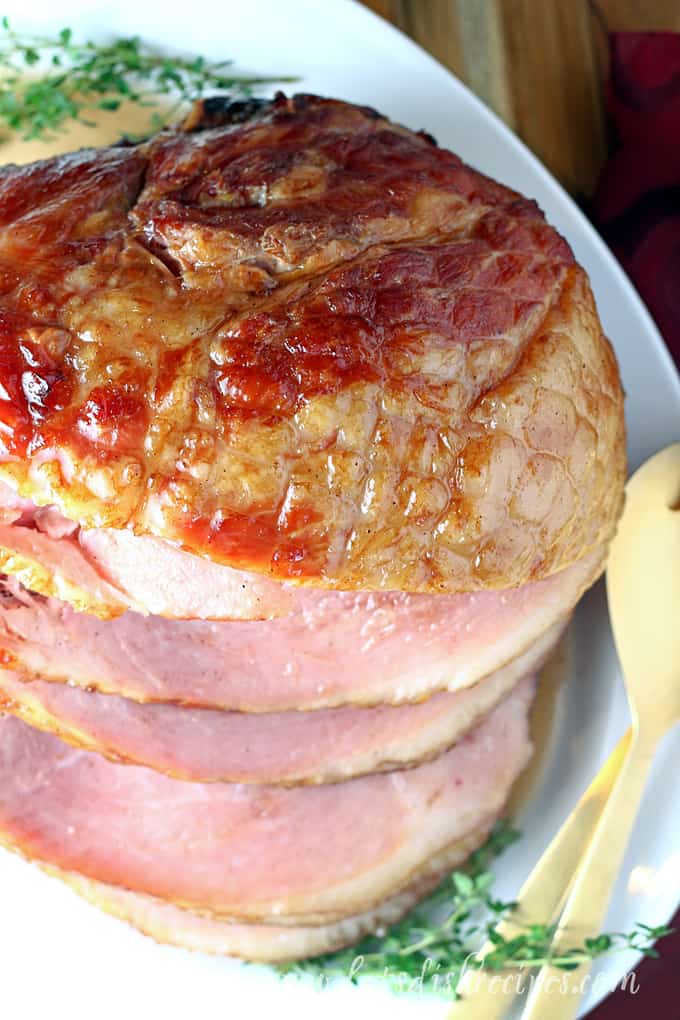
- 1/2 cup cooked ham diced
- 4 eggs
- 1 cup Half and Half
- 1/4 teaspoon salt
- Dash of pepper
- 1/4 teaspoon ground dry mustard
- 2 green onions chopped
Instructions
- In a medium bowl, toss the 1 tablespoon flour with the 1 cup shredded cheddar cheese and 1 cup shredded Monterrey Jack cheese. Evenly spread the cheese over the bottom of the unbaked pie crust. Top the cheese with the 1/2 cup cooked ham (diced).
- In a medium bowl, whisk together 4 eggs, 1 cup Half and Half, 1/4 teaspoon salt, Dash of pepper and 1/4 teaspoon ground dry mustard. Stir in the 2 green onions. Pour the egg mixture over the ham and cheese.
- Cover the unbaked quiche with plastic wrap, then with foil, sealing the edges well. Place the prepared quiche in the freezer.
- When ready to bake, preheat the oven to 400 degrees. Do not thaw the quiche!
- Remove the foil and plastic wrap. Place the foil around the edges of the crust to prevent burning.
- Place the frozen quiche in the oven and bake for about 1 hour, or until the filling is set and the crust is golden brown.
- To cook the quiche immediately (without freezing first), preheat the oven to 350 degrees and bake for 45 minutes to 1 hour.
Nutrition
Ingredient Notes and Substitutions
- Pie Crust Options: A store-bought 9-inch unbaked pie crust works perfectly and saves lots of time, but you can use homemade if you prefer. If you choose to make your own, I suggest my recipe for Grandma’s Secret Pie Crust.
- Cheese Choices: Feel free to use any cheese you love—Swiss, Gruyère, mozzarella, or a cheese blend all work well.
- Half and Half Substitutions: You can substitute whole milk or a mix of milk and cream if you don’t have Half and Half, or it’s not available where you live.


Recipe Tips
- Toss the cheese and flour together: This helps keep the cheese from sinking to the bottom of the quiche and keeps it evenly distributed throughout the filling.
- Really whisk those eggs! A well-whisked egg mixture helps create a smooth, custardy texture when baked.
- Freeze before baking – When making ahead, wrap tightly with plastic wrap and foil. Freezing before baking keeps the crust crisp and prevents sogginess.
- Checking for doneness: The quiche is done when the center is set and no longer jiggles. You can also insert a sharp knife in the center—if it comes out clean, it’s ready.
- Let it rest: Allow the quiche to sit for 5–10 minutes after baking so it sets up fully and slices cleanly.
- When reheating a whole baked quiche from the fridge or freezer, cover the crust edges with foil to prevent over-browning.
Storage and Reheating
Obviously this quiche is meant to be made ahead and stored in the freezer until it’s time to bake. To store leftovers after baking, let the quiche cool completely then transfer slices to an airtight container. Store in the refrigerator for up to 3–4 days.
For best results, cover loosely with foil and reheat in a 350°F (175°C) oven for 15–20 minutes, or until heated through. To reheat in the microwave, Place a slice on a microwave-safe plate and heat on medium power in 30-second intervals until warmed through. This method is quick, but may soften the crust.

Variations & Fun Twists
- Veggie Lovers Quiche: Add sautéed spinach, mushrooms, bell peppers, or broccoli for extra color and nutrition. Cook and drain the veggies well before adding them to avoid excess moisture.
- Cheesy Variations: Swap in Swiss, Gruyère, feta, or pepper jack for a fun twist. Mixing a sharp cheese with a melty one adds great flavor!
- Low Carb: For a lower-carb version, skip the crust and pour the filling into a greased pie pan or muffin tin for mini crustless quiches.
- Swap the Protein: Replace the ham with cooked bacon or cooked crumbled sausage.

99 comments
Sara
Looks delicious! I want to make a crust less 9 x 13 version for family gathering (several GF members). Should I make a double recipe or recipe and 1/2?
Thanks much!
Sara
Janaya
Sorry! I misspelled your name Sara!
Janaya
Sarah, I haven’t tried it with this exact recipe but when I’ve cooked quiche for GF people before I’ve used GF dry pancake or biscuit mix whisked right in with the eggs before pouring egg mixture over the meat and such. You can either use a store bought mix or my preference is to make one from ingredients myself (to have on hand anyway).
Jodi
Has anyone baked theirs and then froze it?
Lori
Hosting a baby shower soon so I was looking fir a recipe I could make ahead! Very excited. I think my only question that wasn’t answered was using pillsbury all ready pie crusts so I can use glass pie plates. It will look better for my party. Thoughts? Tips? Freeze first then follow your instructions? Thank you for sharing!!
Danelle
You can definitely use Pillsbury crusts. The only issue with glass pie plates is that they may shatter going directly from the freezer to the oven.
Margie
I’ve done 2 with glass pie plates, and haven’t had a problem
Lori Garcia
Thank you! I was thinking I would set out of freezer for short period of time. I am going to make ahead and test before party. ONE More question please. If my pie dish is 9.5 instead of 9 inch should I increase anything a bit? I appreciate your help and I will absolutely post reviews and comments on these changes.