


Why You’ll Love This Recipe
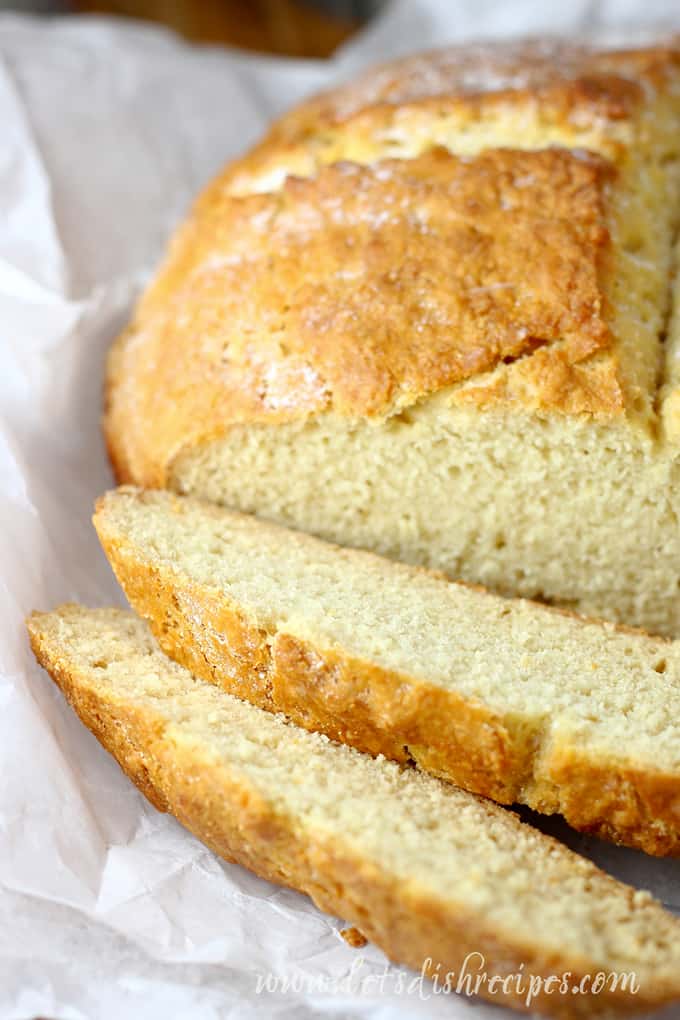
I’ve tried several recipes for Irish soda bread, and this one is by far my favorite. It bakes up into such a beautiful loaf I can hardly believe it isn’t a yeast bread. And it’s so incredibly easy to make, especially if you’re impatient like me and don’t want to wait around for the dough to rise.
Like so many delicious bread recipe, this is the product of a time when fancy ingredients weren’t available or affordable, so it’s made with only the most basic ingredients.
Tips for Storing & Freezing
- Cool completely before storing, then wrap tightly in plastic wrap, a reusable bread bag, or an airtight container and store at room temperature.
- Slice before freezing if you want to thaw only a few servings at a time. Place parchment or wax paper between slices so they don’t stick.
- Wrap the whole loaf or slices tightly in plastic wrap, then add a layer of aluminum foil or place in a freezer-safe bag. Freeze for up to 3 months.
Variations and Fun Twists
- Raisin: Stir in about one cup of raisins or currants and add a tablespoon or two of sugar to the dough. A pinch of cinnamon is optional.
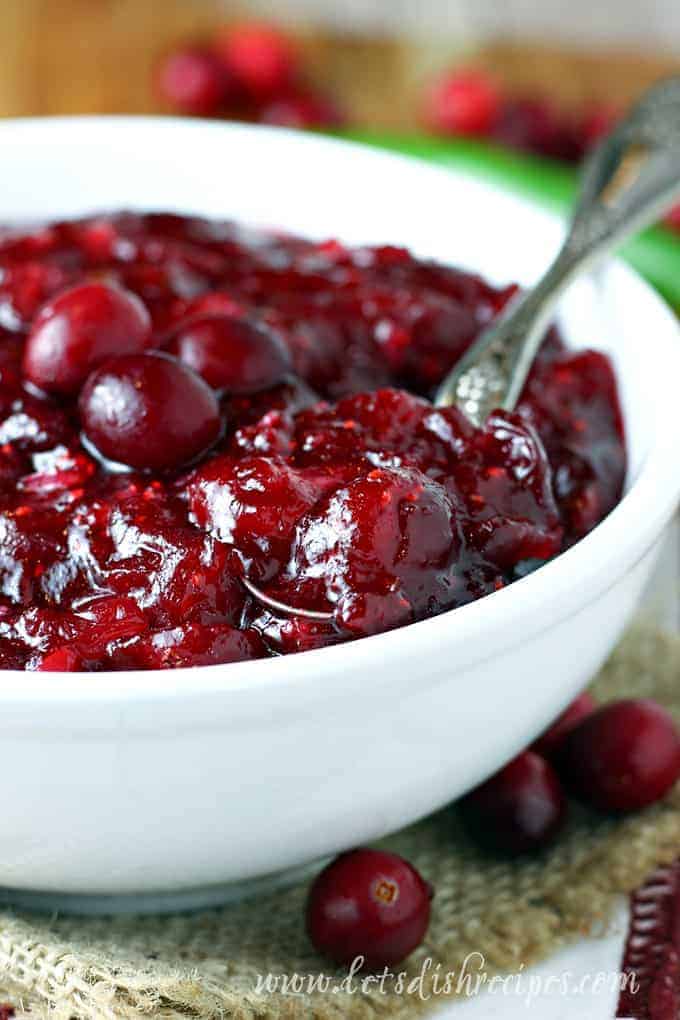
- Orange Cranberry: Fold in a generous handful of dried cranberries along with a tablespoon of fresh orange zest.
- Cheddar & Herb: Mix in a cup of shredded sharp cheddar and a tablespoon of chopped fresh chives or parsley. Add a pinch of pepper for even more savory flavor.
If you enjoy this recipe, be sure to try my Dill White Cheddar Irish Soda Bread and my Easy Cranberry Orange Soda Bread.

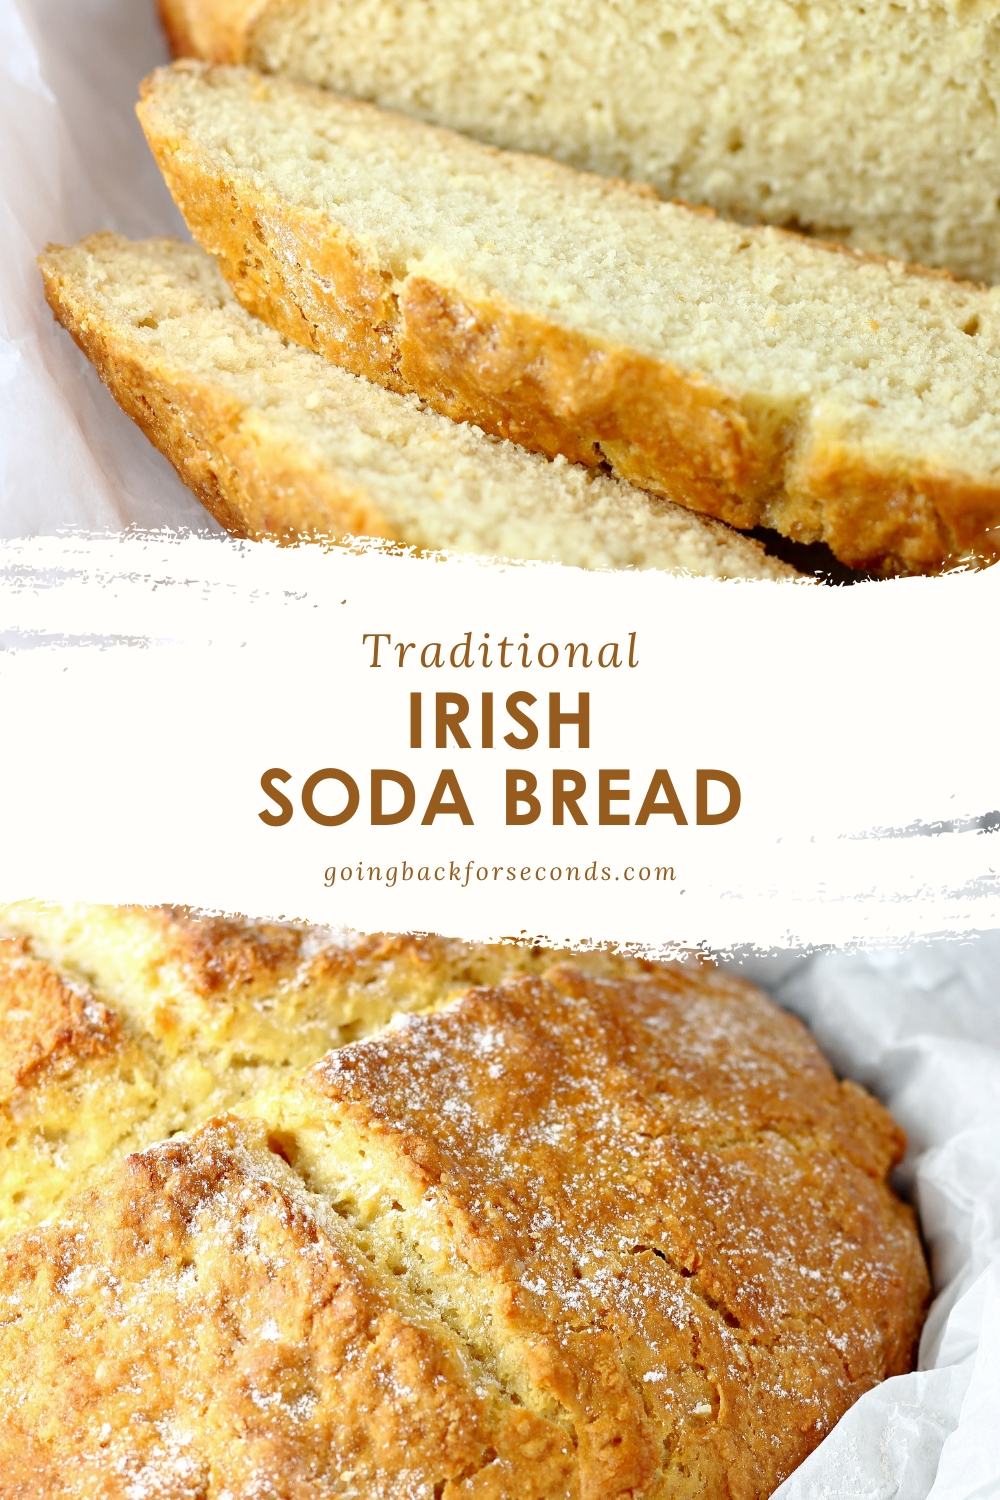
Traditional Irish Soda Bread
Traditional Irish soda bread made with just a few simple ingredients.
Rate
Print
Pin
Save
Servings: 1 loaf
Calories: 249kcal
Ingredients
- 4 cups flour
- 1 1/2 teaspoons baking soda
- 1 teaspoon salt
- 1 3/4 cups buttermilk
Instructions
- Preheat oven to 425 degrees. Grease and flour a 9-inch round cake pan.
- In a large bowl, combine the flour, baking soda and salt. Gradually stir in the buttermilk until the dough comes together in a slightly sticky ball.
- Turn dough onto a floured surface and knead gently a few times. Form the dough into a ball and then press into the prepared pan so that the dough resembles a large disk. The dough should reach the edges of the pan, but may spring back slightly.
- Cut an X into the dough with a sharp knife, about 1/4 of an inch deep. Cover the pan of dough with another round cake pan turned upside down.
- Bake for 25-30 minutes, covered, then remove the top pan and bake uncovered for about 10 minutes more or until the crust is dark golden brown.
Nutrition
Serving: 1g | Calories: 249kcal | Carbohydrates: 50g | Protein: 8g | Fat: 1g | Cholesterol: 2mg | Sodium: 682mg | Fiber: 2g | Sugar: 3g
Keep scrolling for tips, ingredient substitutions, answers to frequently asked questions and more!
199 comments
Keithvap
Не могу понять, почему при одинаковом бюджете у одних выходит нормальная сборка, а у других приходится сильно урезать по видеокарте или брать б/у железо — везде пишут разные “оптимальные” конфигурации и цены, и сложно разобраться, где реально баланс, а где просто переплата за бренд или маркетинг; от чего на практике больше всего зависит итоговая стоимость (видеокарта, процессор, новое/б/у, сборка под 1080p или 2K) и как вы сами подходили к выбору, чтобы не переплатить и собрать нормальный игровой ПК? Подскажите как [url=https://telegra.ph/Sborka-pk-onlajn-03-26]собрать пк онлайн[/url]
url
Great items from you, man. I’ve be mindful your stuff prior to and
you are simply too excellent. I really like what you’ve acquired here, certainly like what
you are saying and the way by which you are saying it.
You make it enjoyable and you continue to care for to stay it
wise. I can’t wait to read much more from you.
This is actually a terrific site.
casino utan svensk licens
Vilket bra innehåll! Jag har läst många recensionssidor men det här inlägget är annorlunda.
Informationen är tydlig och hjälpte mig att förstå bra bonusar.
Tack för ditt arbete.